

Got the Targa fender kit, and figured what the hell why not take some pictures along the way. NOTE: In this "No Cut" Kit there will be about 10 cuts performed. :buzzsaw:
Disclaimer: If you decide to do this it's your own responsibility to do it right, so if you mess up your bike or wire something wrong causing a dangerous short or loss your lighting system that is your own fault.
First of all remove the passenger seat and remove the 4 silver screws holding the fender on.
![Image]()
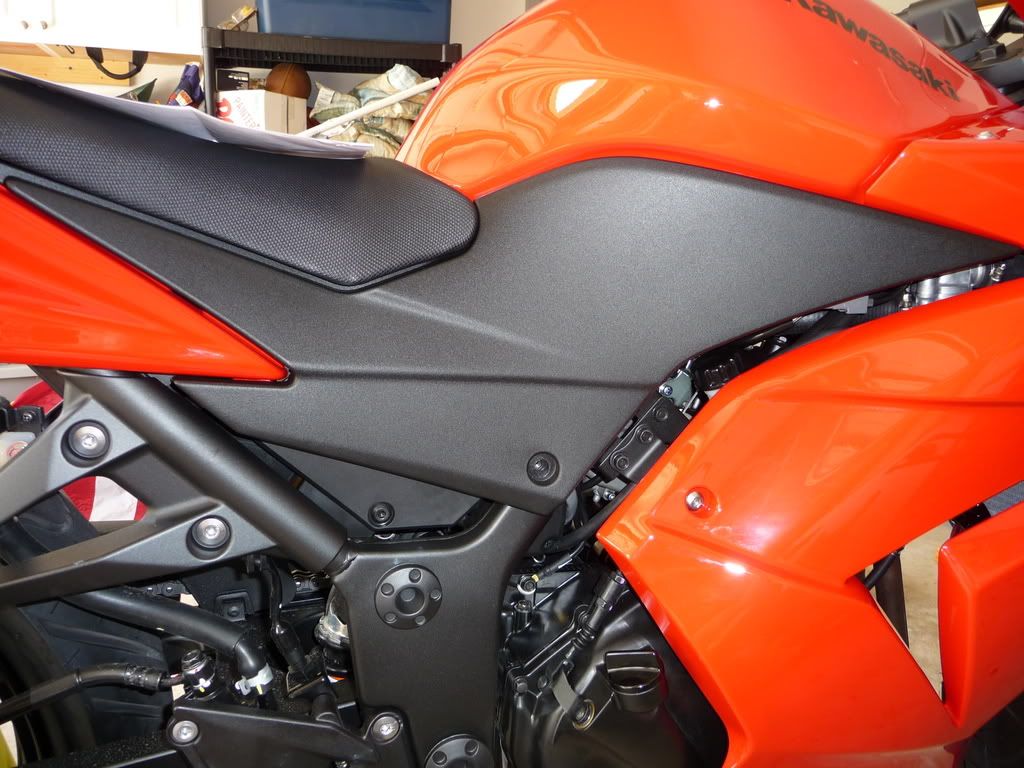
Remove the black screw holding on the black side panel on both sides and remove both panels.
![Image]()
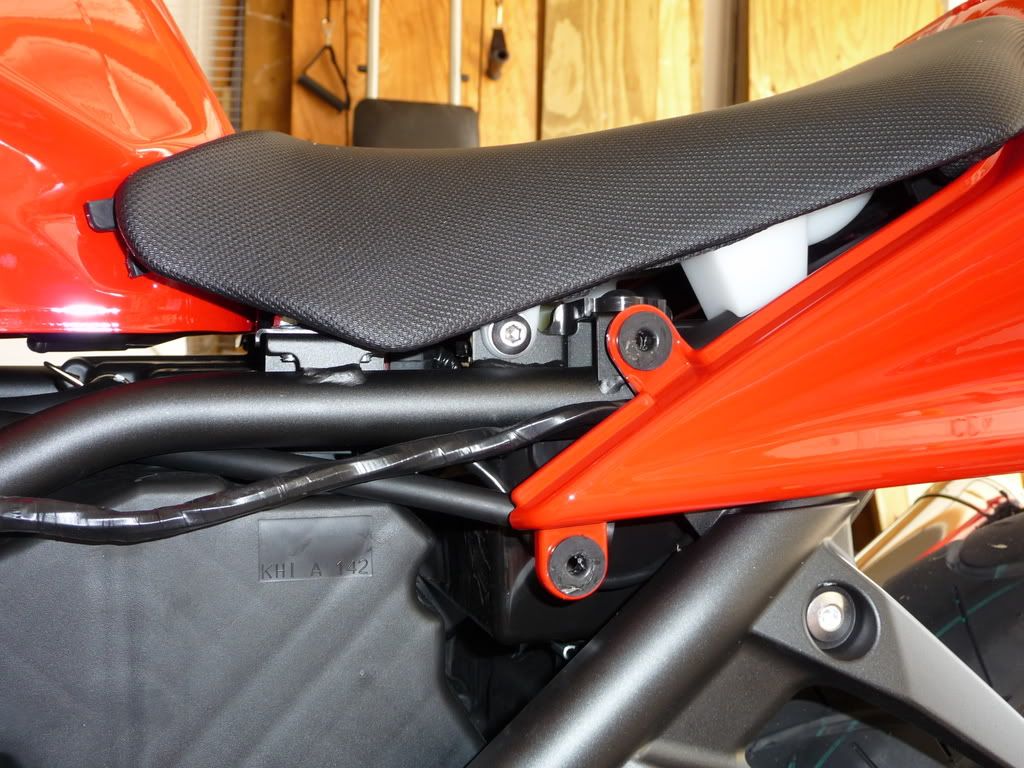
Remove the screws holding on the rider saddle and remove.
![Image]()
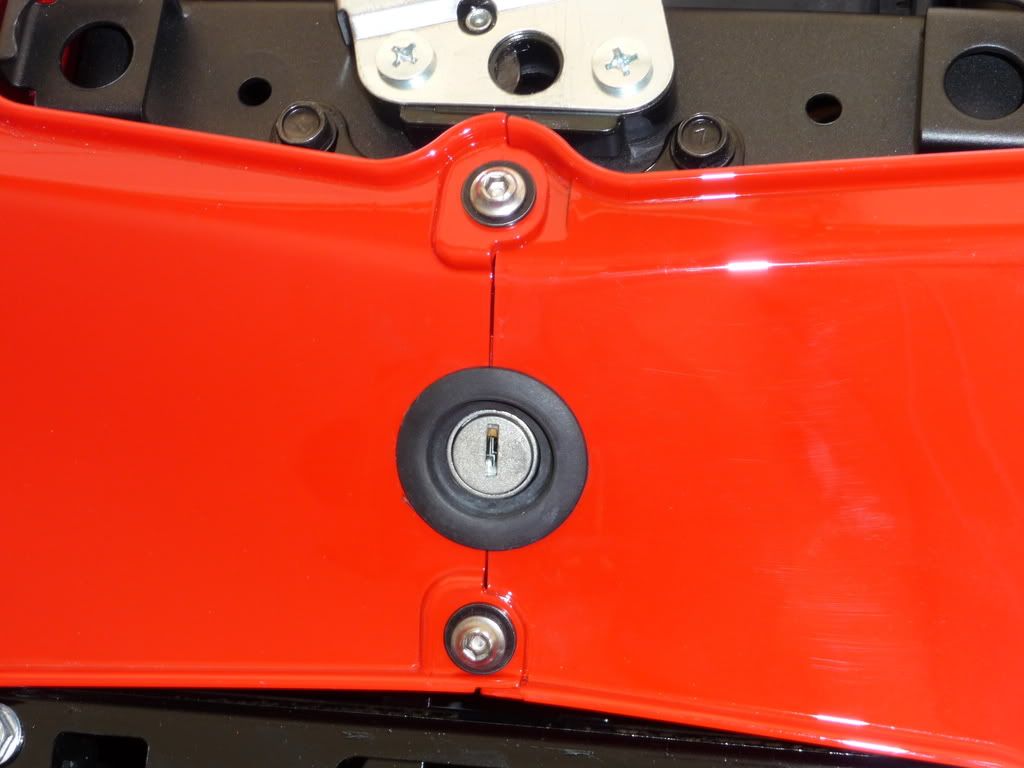
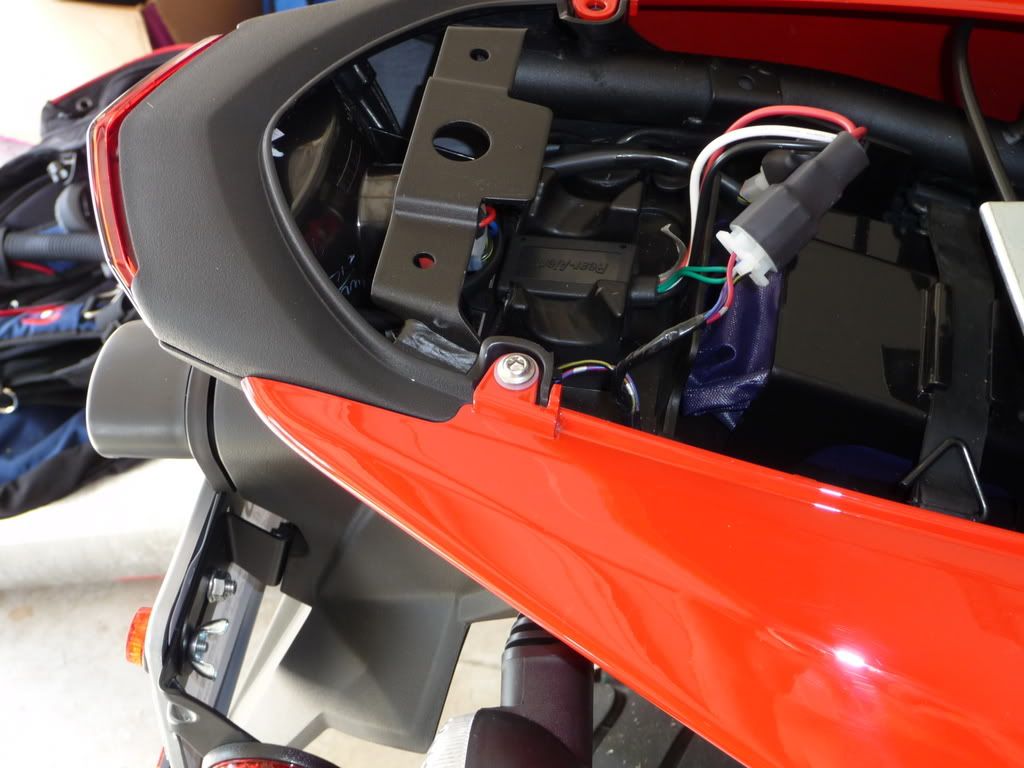
Remove the screws and black washers that are above and below the passenger seat lock.
![Image]()
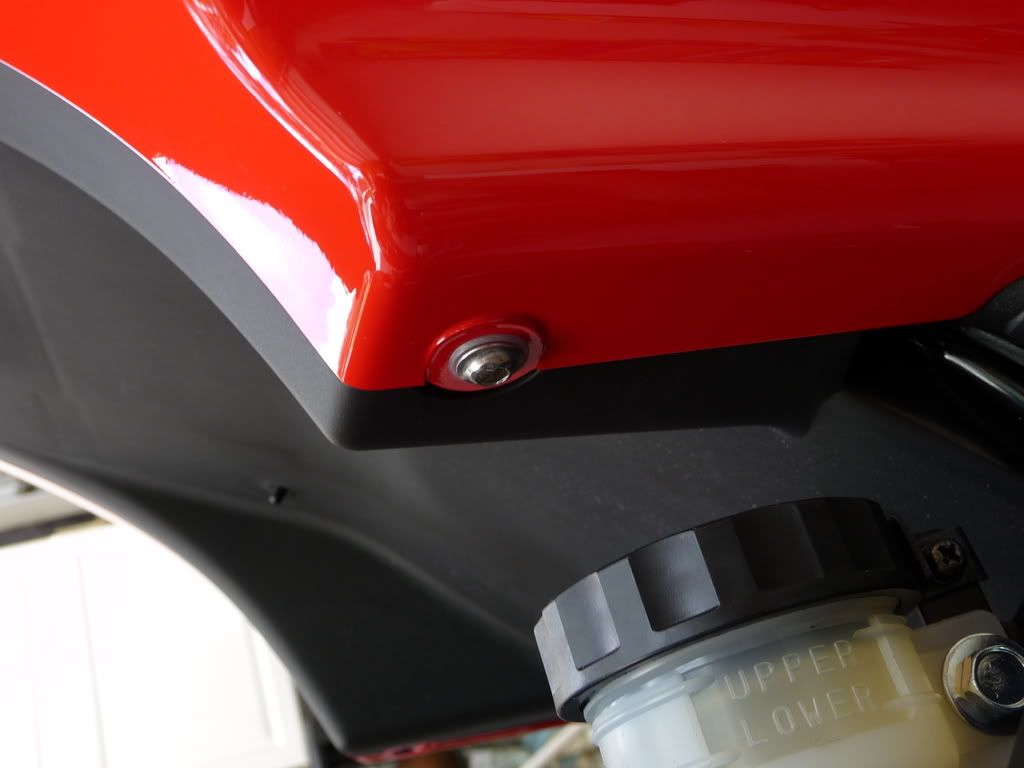
Remove the screw and washer on top of the rear fairing.
![Image]()
Remove the screw and washer below the rear fairing and remove fairing.
Repeat for the other side.
![Image]()
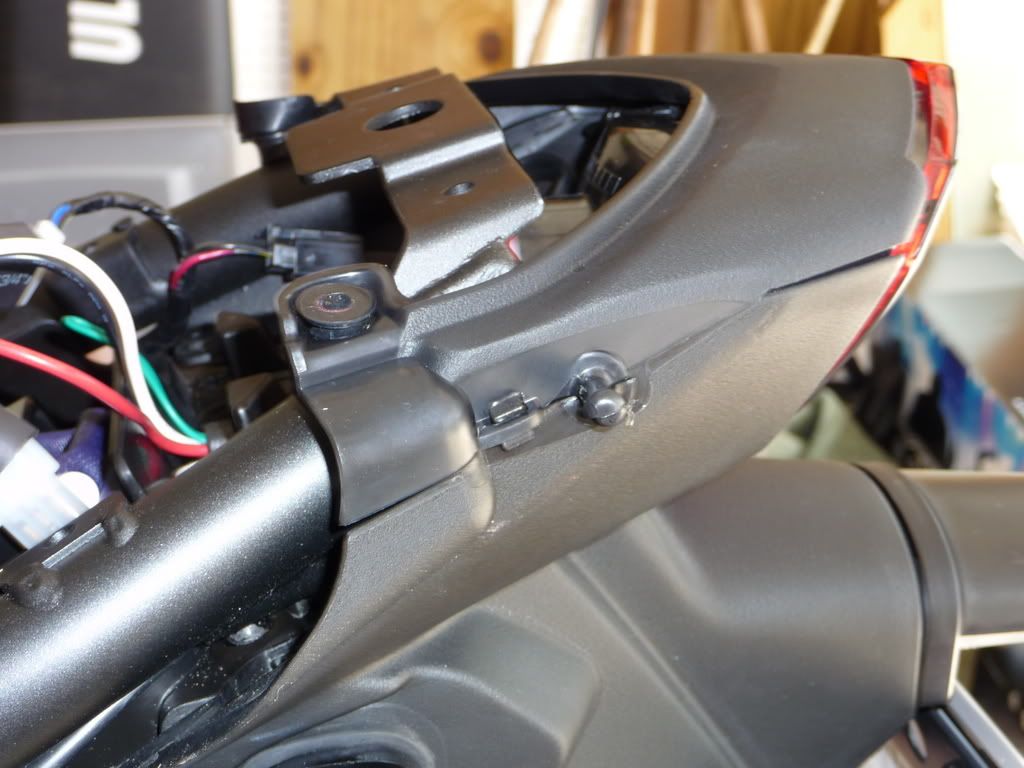
Remove the top cover to the rear brake light (push in on the tabs on either side)
![Image]()
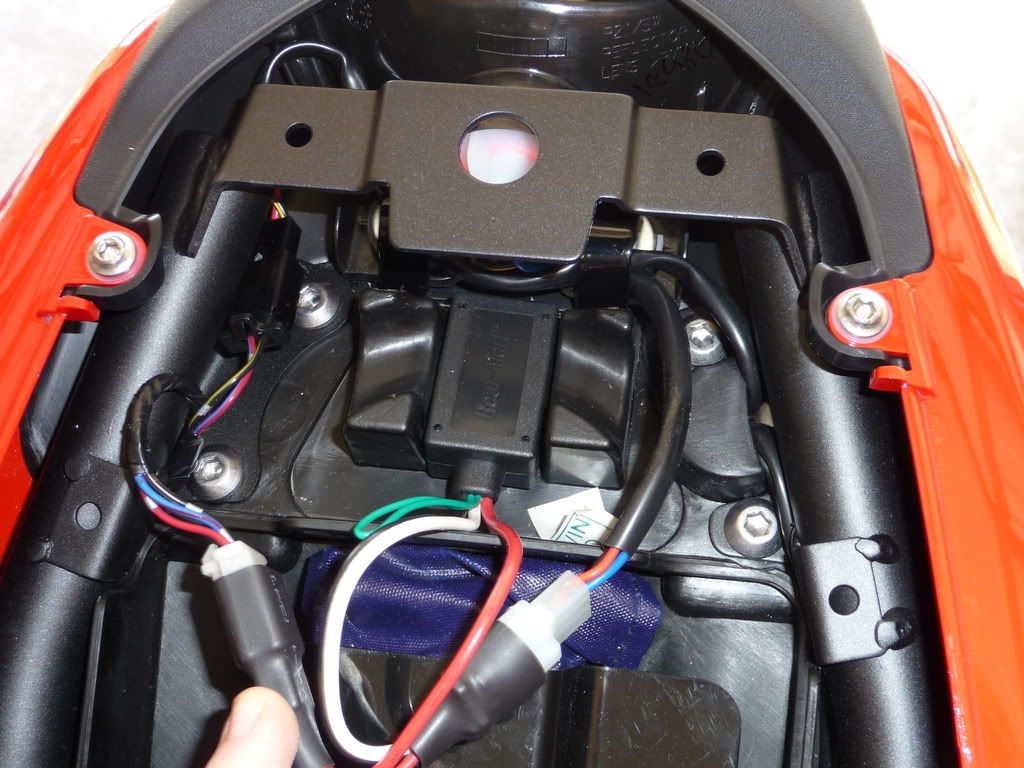
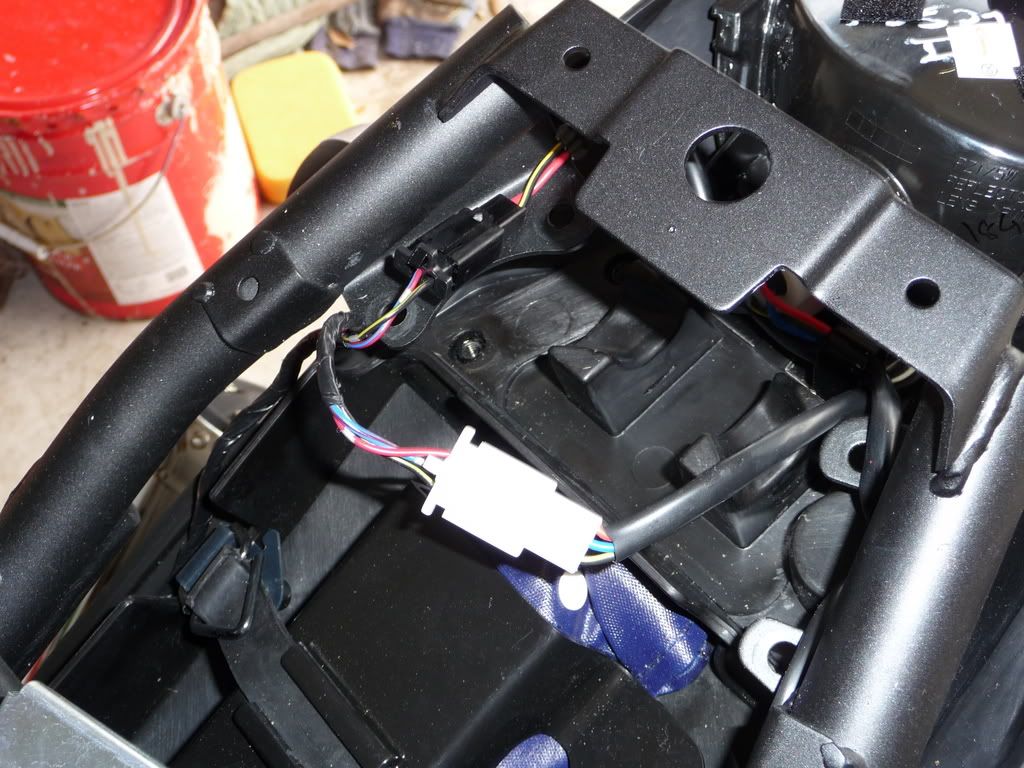
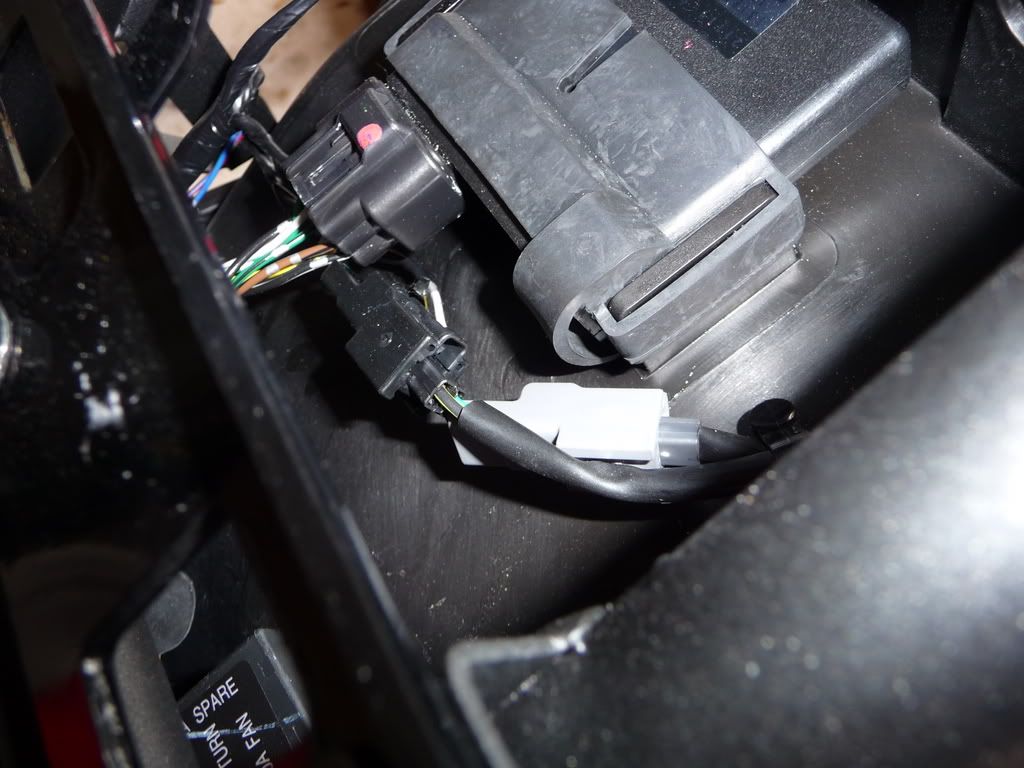
Disconnect the white brake light wire connector and the black license plate light connector
![Image]()
Disconnect the left (black) and right (gray) blinker wire connectors
![Image]()
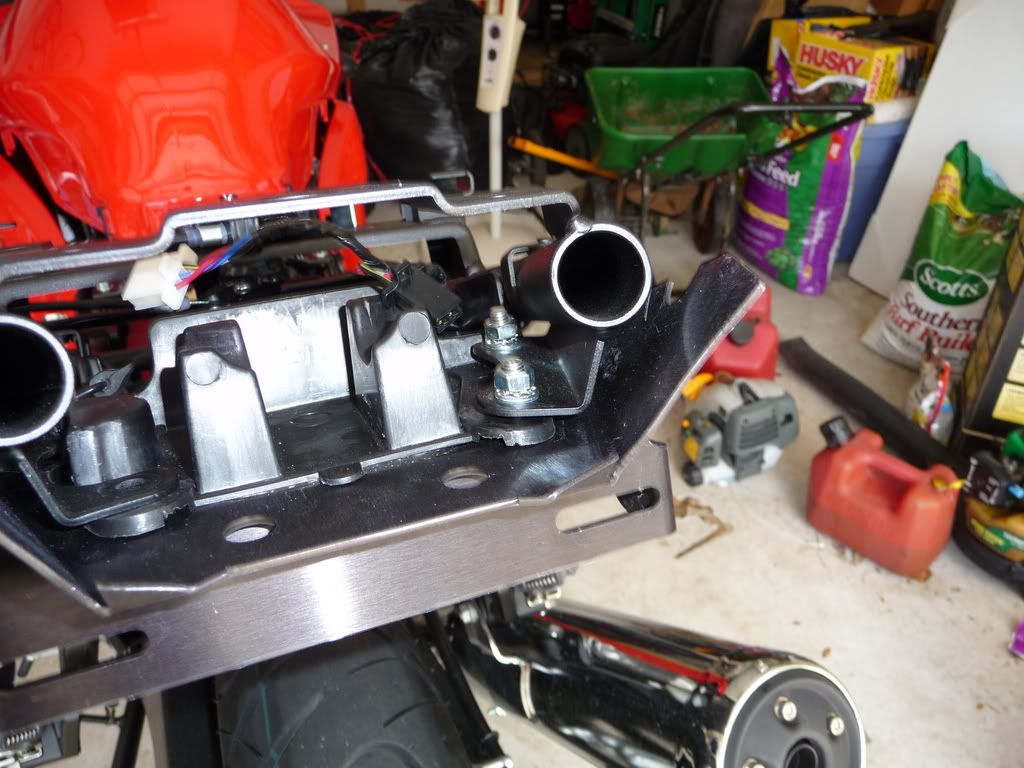
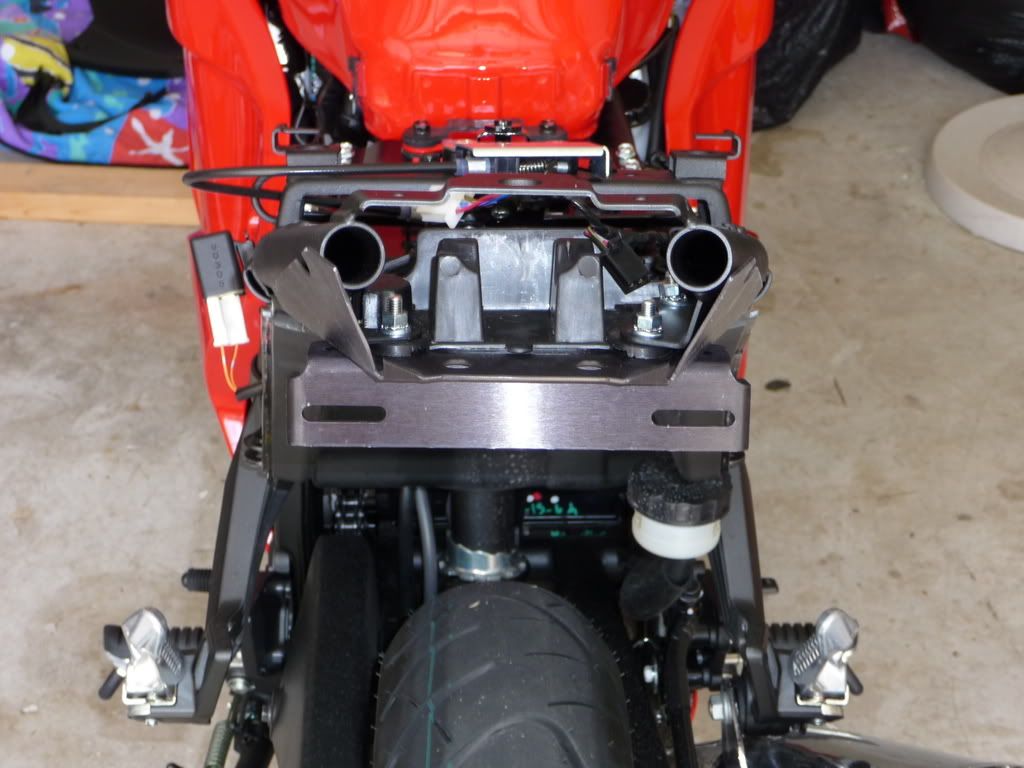
Remove the fender and set aside for now
![Image]()
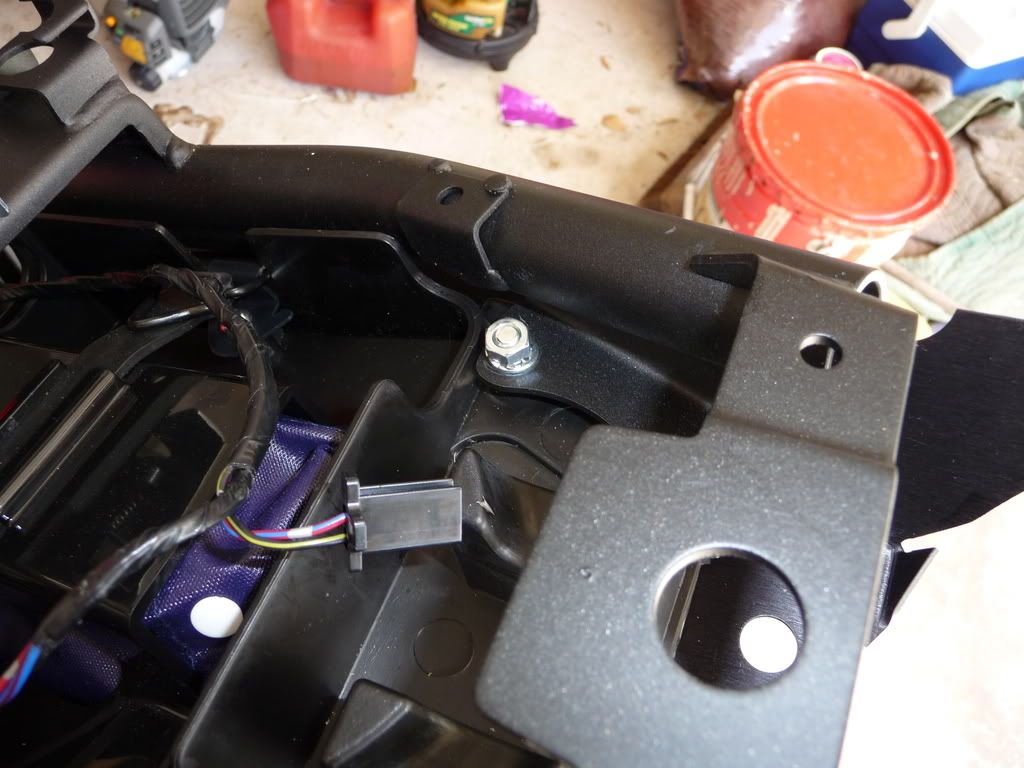
Place the metal base pan underneath and align with the under panel. Use one of the smaller screws and thread through hole closest to the front of the bike.
![Image]()
Then fasten topside with one of the small washers, lockwasher, and hex nut. Just hand tighten for now, and repeat for the other side.
![Image]()
Take the license plate bracket have the side with a center hole facing up and thread with another small screw.
![Image]()
Again fasten topside with one of the small washers, lockwasher, and hex nut. Just hand tighten for now, and repeat for the other side.
![Image]()
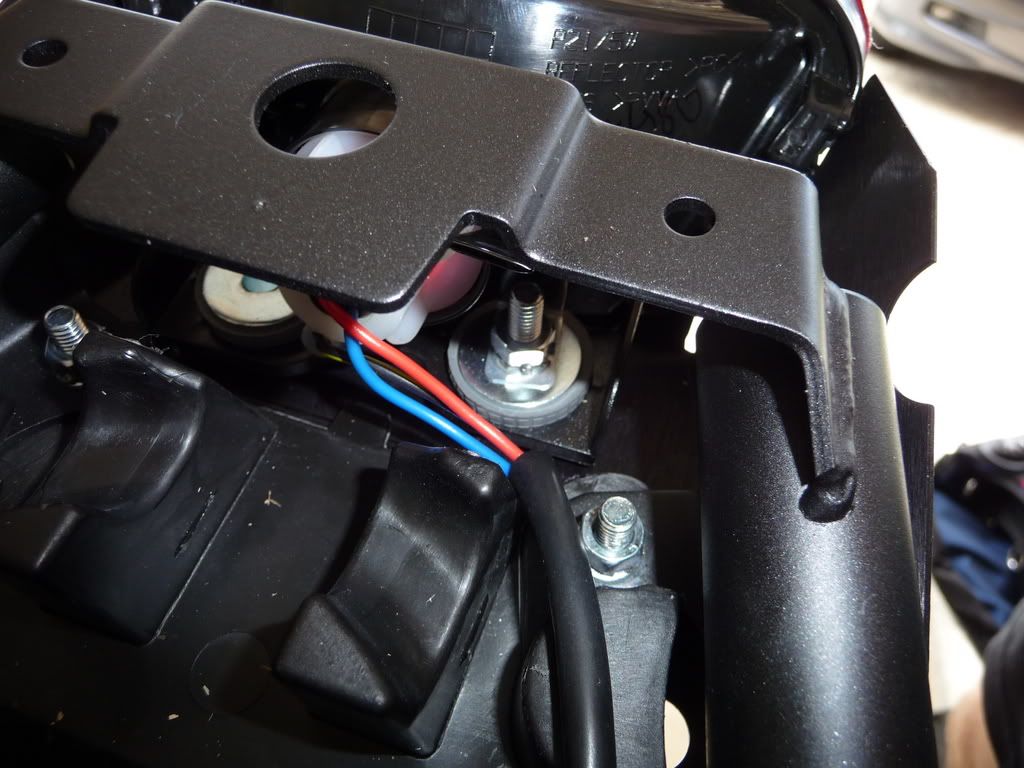
On the removed rear fender, open the wiring clips and remove the hex head bolts holding the taillight to the fender.
![Image]()
Connect the taillight to the base plate. Use a large screw with a thick 6mm washer and a thick vinyl washer on the underside. (Make sure the vinyl washer is push into the metal stick out from the taillight)
![Image]()
Topside use a lockwasher and hex bolt, tighten securely. Repeat on the other side.
![Image]()
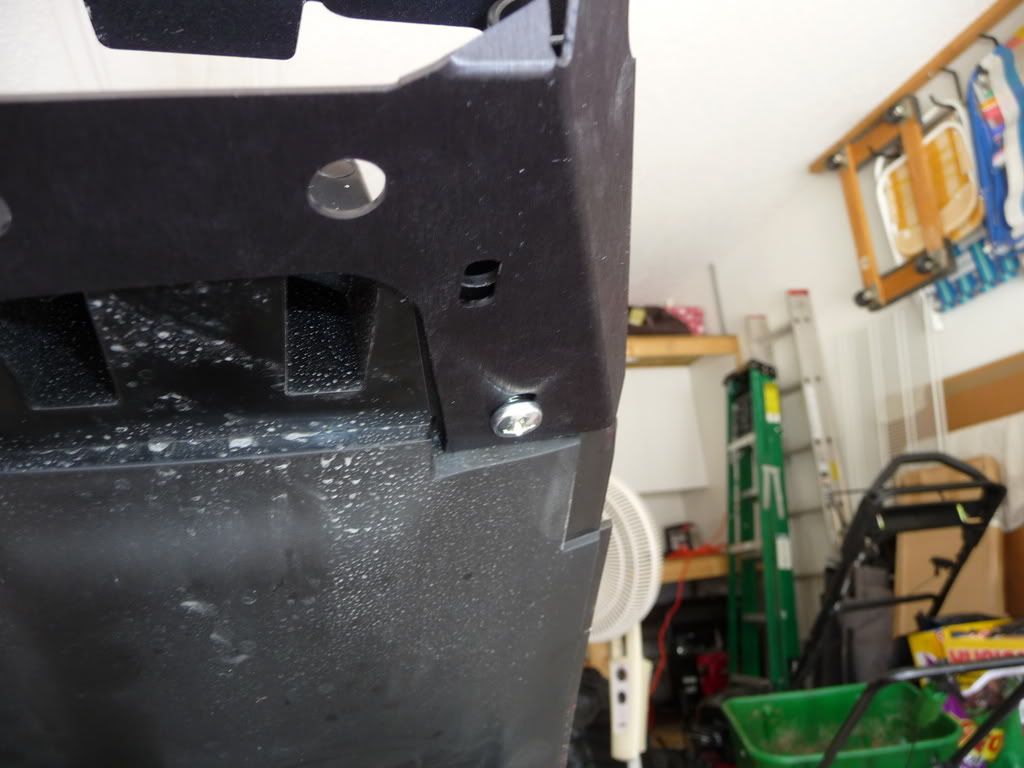
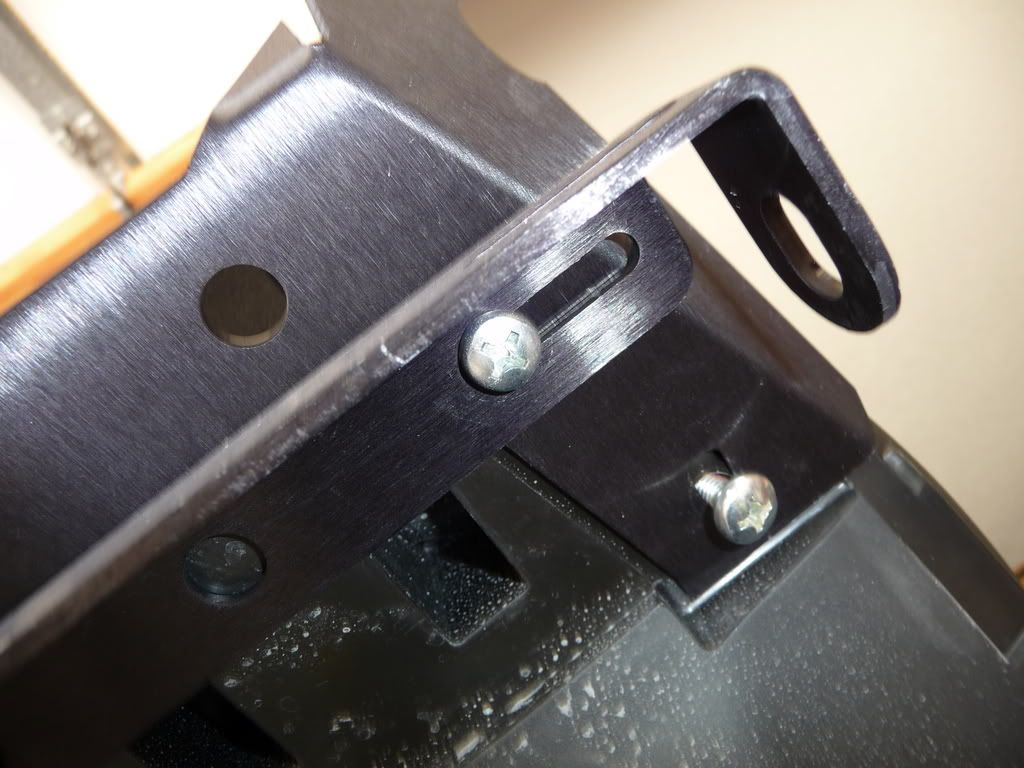
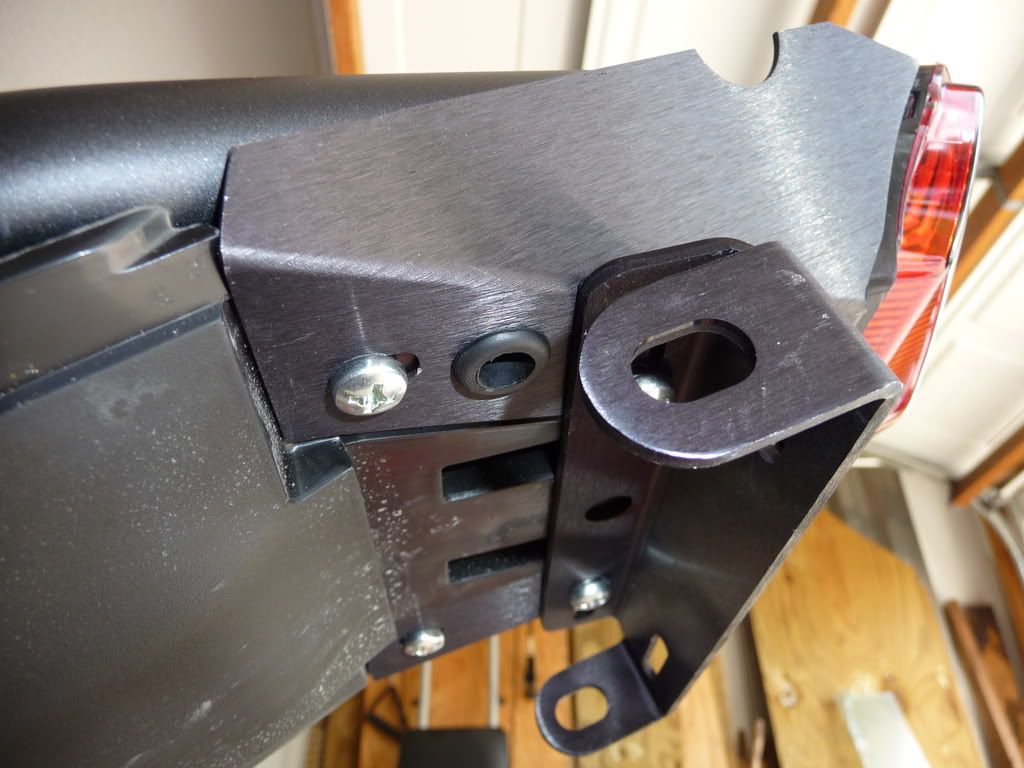
Push the base pan as much to the front of the bike as possible and tighten the four hand tightened screws securely making sure to center the license plate bracket
![Image]()
Fit the rubber grommet to the underside hole.
![Image]()
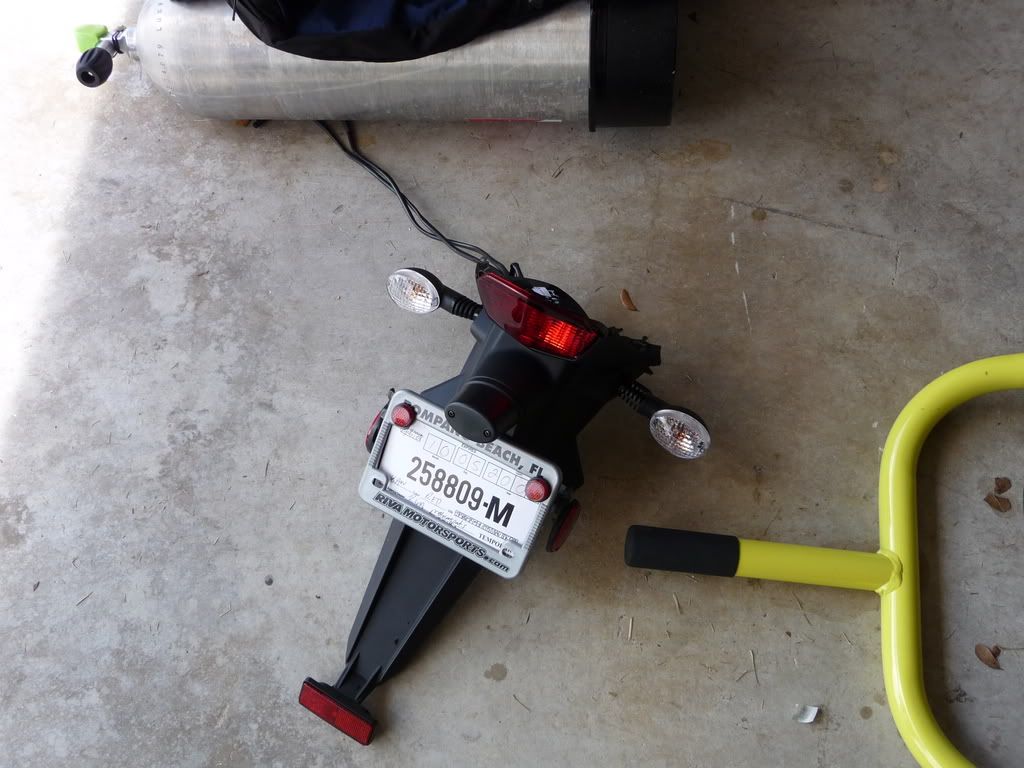
Attach the license plate light and thread the wires through the grommet. Aim light toward the center of the plate and tighten securely.
Disclaimer: If you decide to do this it's your own responsibility to do it right, so if you mess up your bike or wire something wrong causing a dangerous short or loss your lighting system that is your own fault.
First of all remove the passenger seat and remove the 4 silver screws holding the fender on.
Remove the black screw holding on the black side panel on both sides and remove both panels.
Remove the screws holding on the rider saddle and remove.
Remove the screws and black washers that are above and below the passenger seat lock.
Remove the screw and washer on top of the rear fairing.
Remove the screw and washer below the rear fairing and remove fairing.
Repeat for the other side.
Remove the top cover to the rear brake light (push in on the tabs on either side)
Disconnect the white brake light wire connector and the black license plate light connector
Disconnect the left (black) and right (gray) blinker wire connectors
Remove the fender and set aside for now
Place the metal base pan underneath and align with the under panel. Use one of the smaller screws and thread through hole closest to the front of the bike.
Then fasten topside with one of the small washers, lockwasher, and hex nut. Just hand tighten for now, and repeat for the other side.
Take the license plate bracket have the side with a center hole facing up and thread with another small screw.
Again fasten topside with one of the small washers, lockwasher, and hex nut. Just hand tighten for now, and repeat for the other side.
On the removed rear fender, open the wiring clips and remove the hex head bolts holding the taillight to the fender.

Connect the taillight to the base plate. Use a large screw with a thick 6mm washer and a thick vinyl washer on the underside. (Make sure the vinyl washer is push into the metal stick out from the taillight)
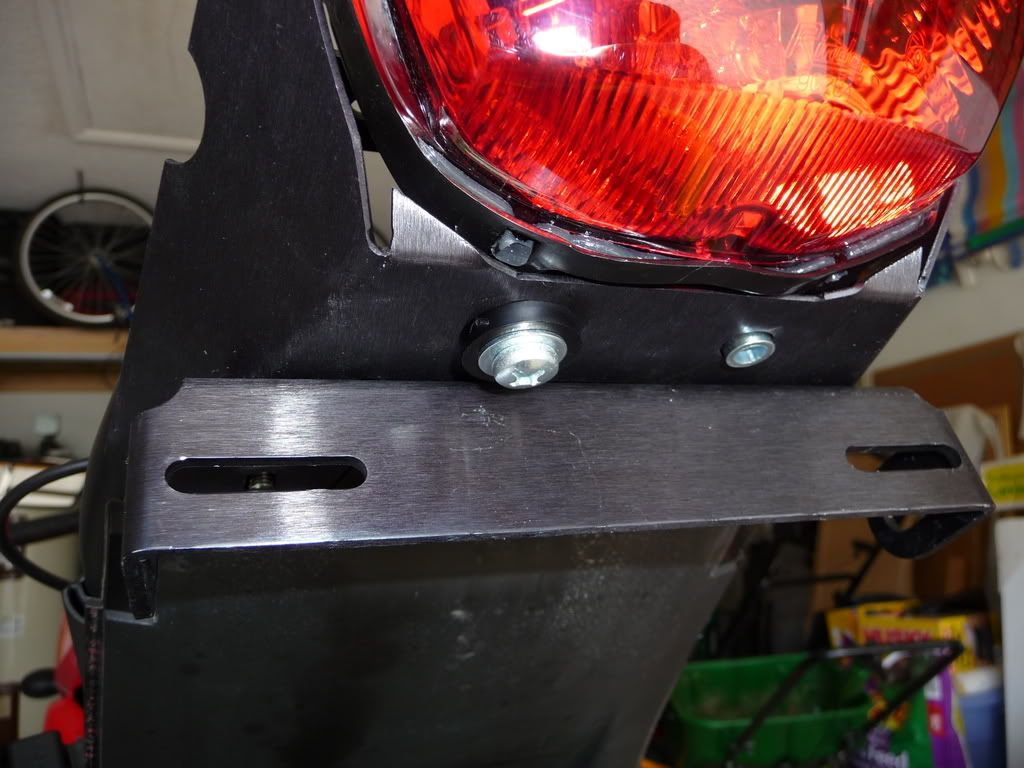
Topside use a lockwasher and hex bolt, tighten securely. Repeat on the other side.
Push the base pan as much to the front of the bike as possible and tighten the four hand tightened screws securely making sure to center the license plate bracket
Fit the rubber grommet to the underside hole.
Attach the license plate light and thread the wires through the grommet. Aim light toward the center of the plate and tighten securely.


