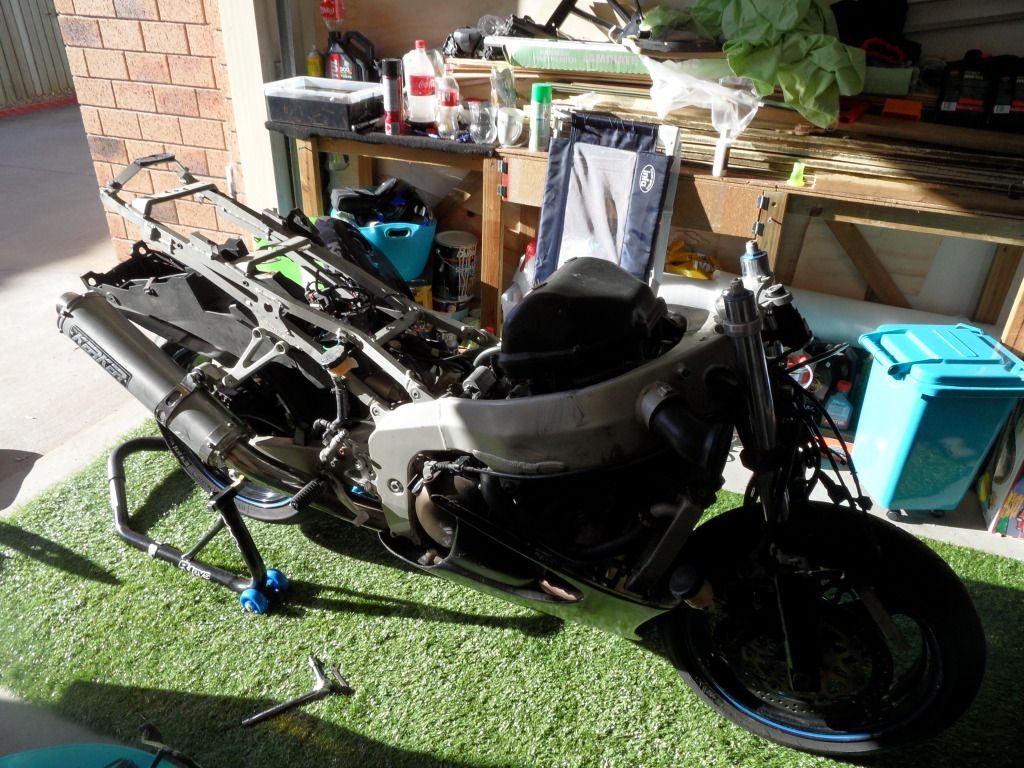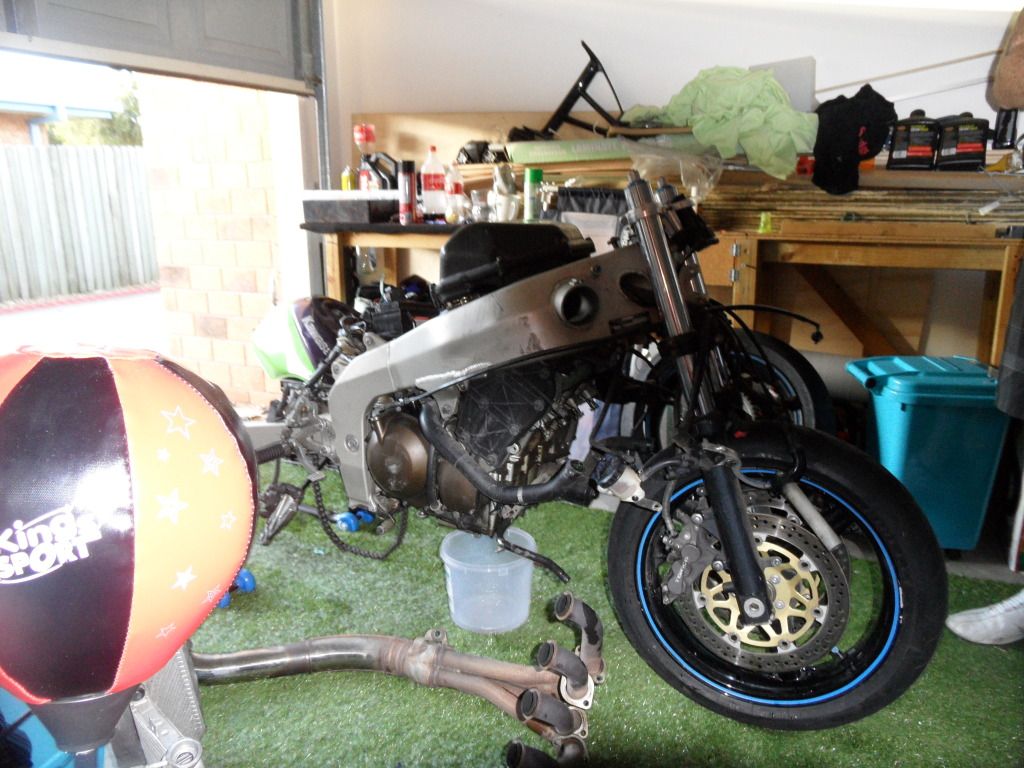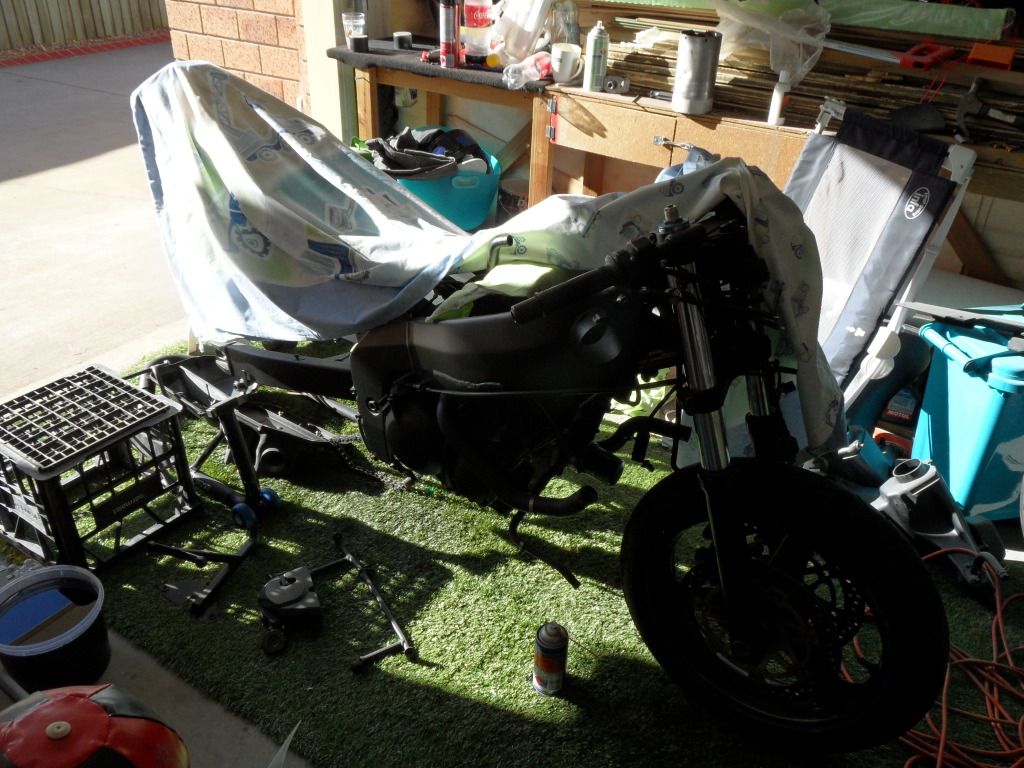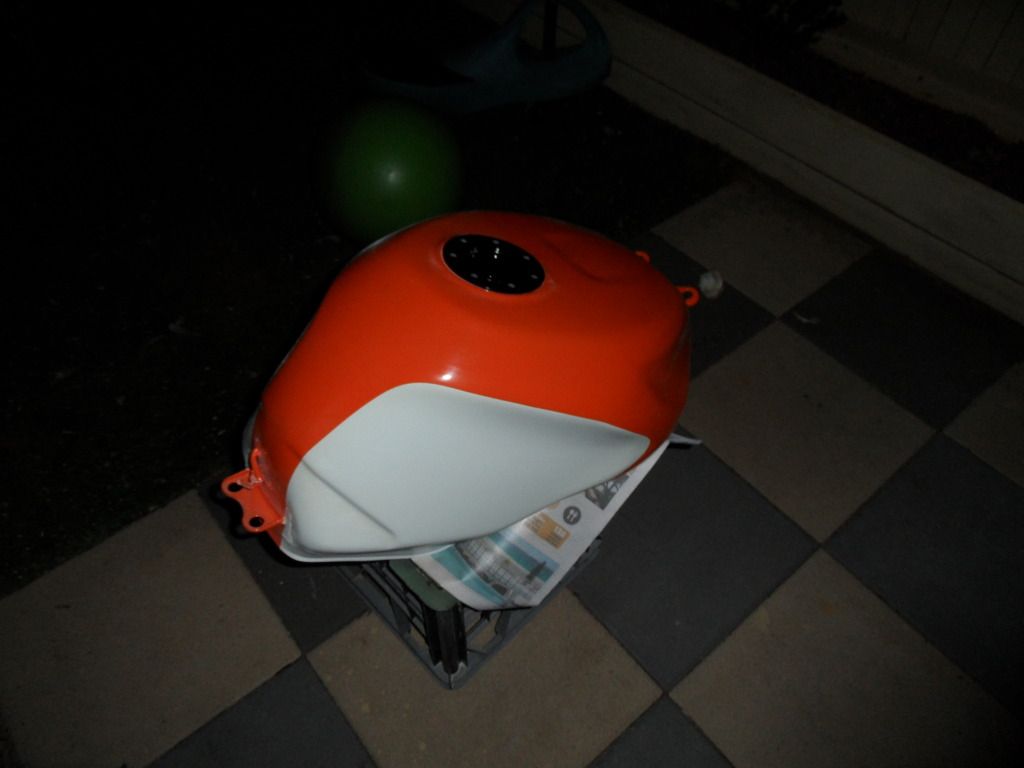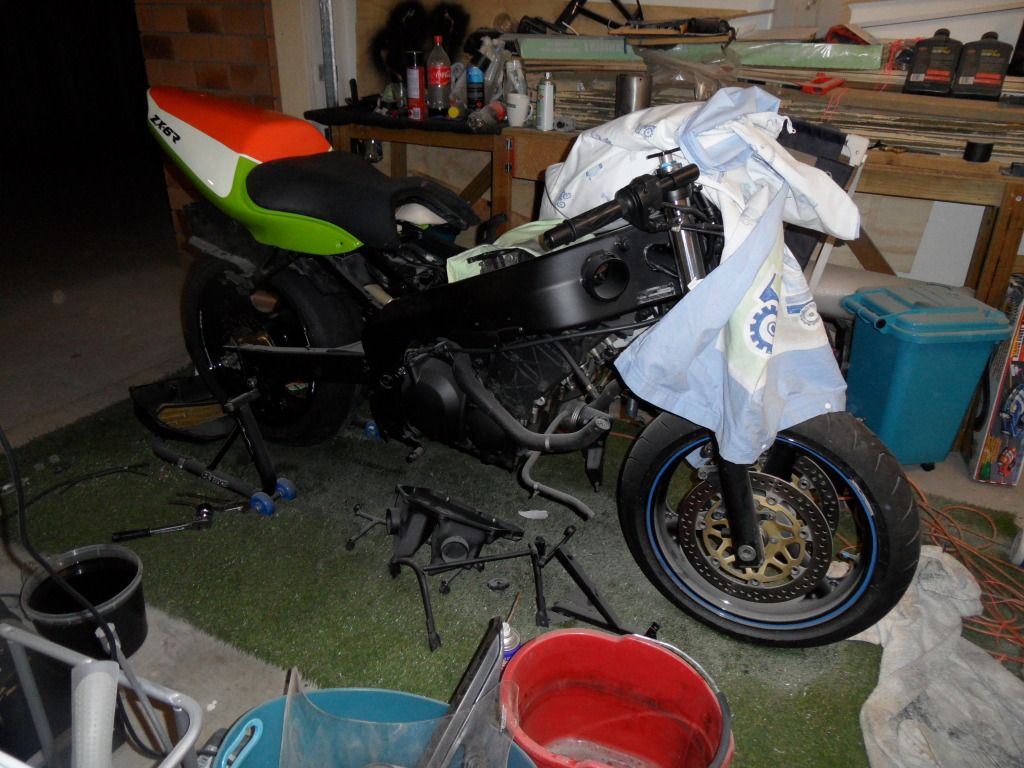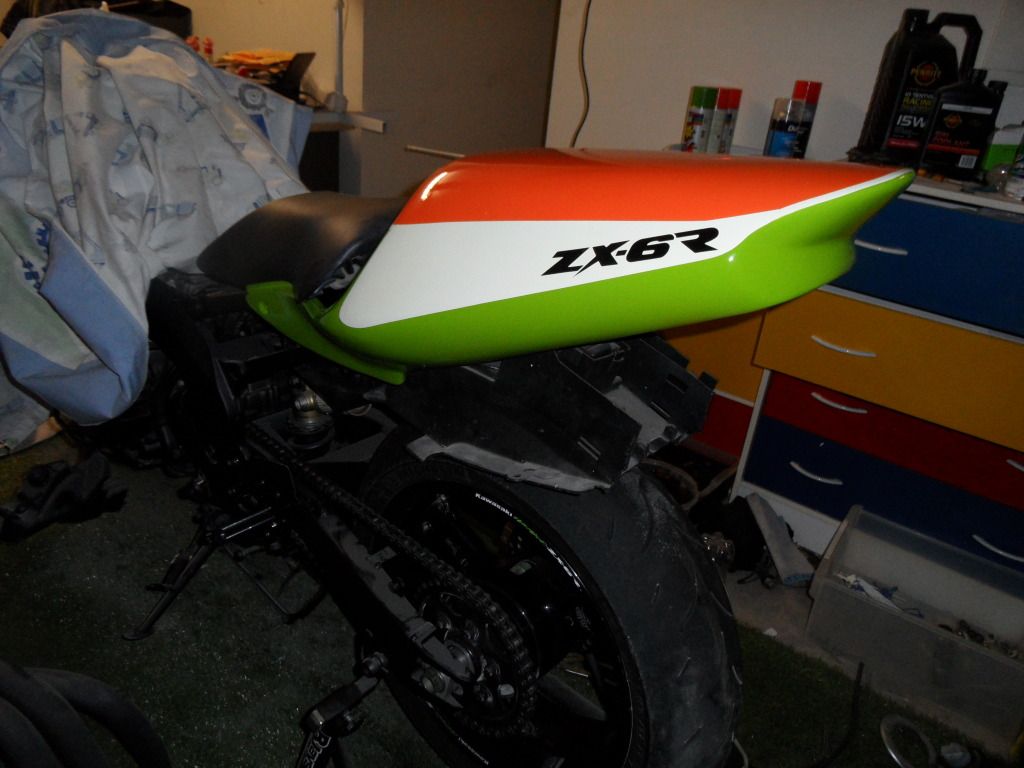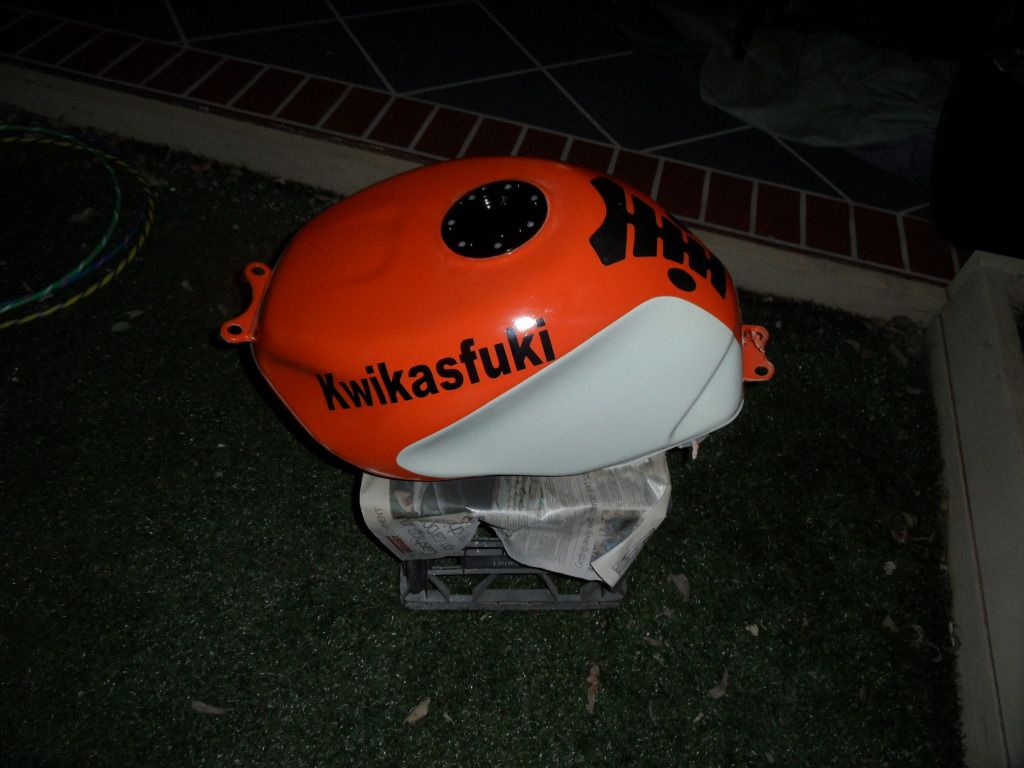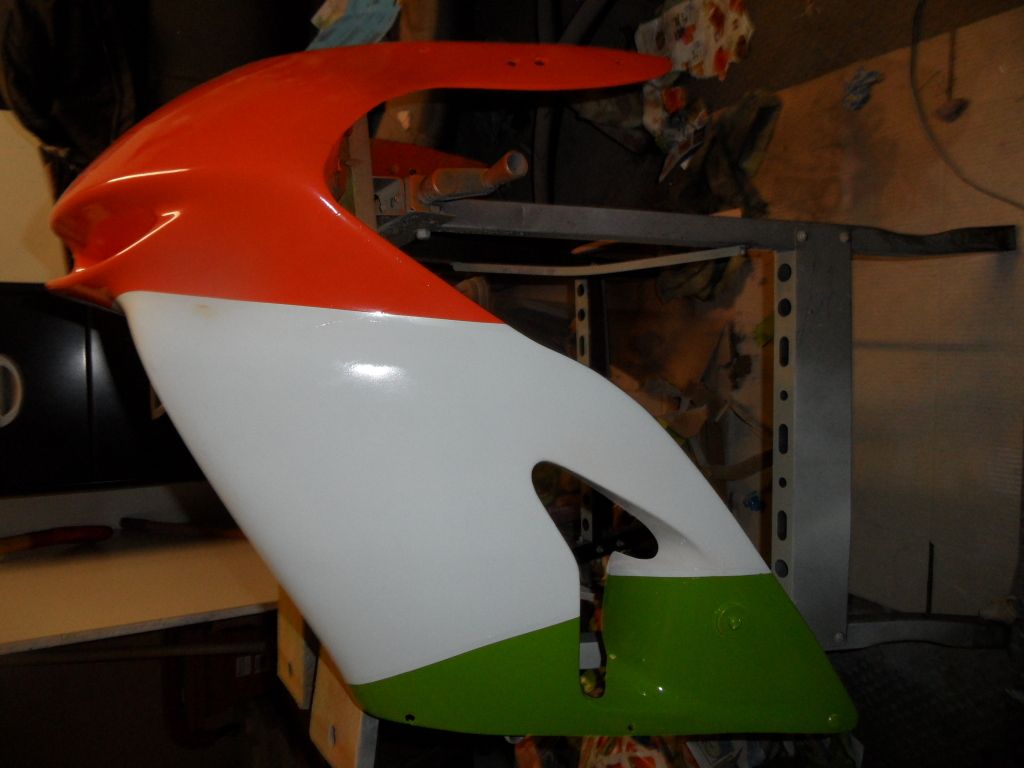

Well I picked up a 98 ZX6R Track Bike for $1500 with the intention of giving it a freshen up. Only 40k on the clock.
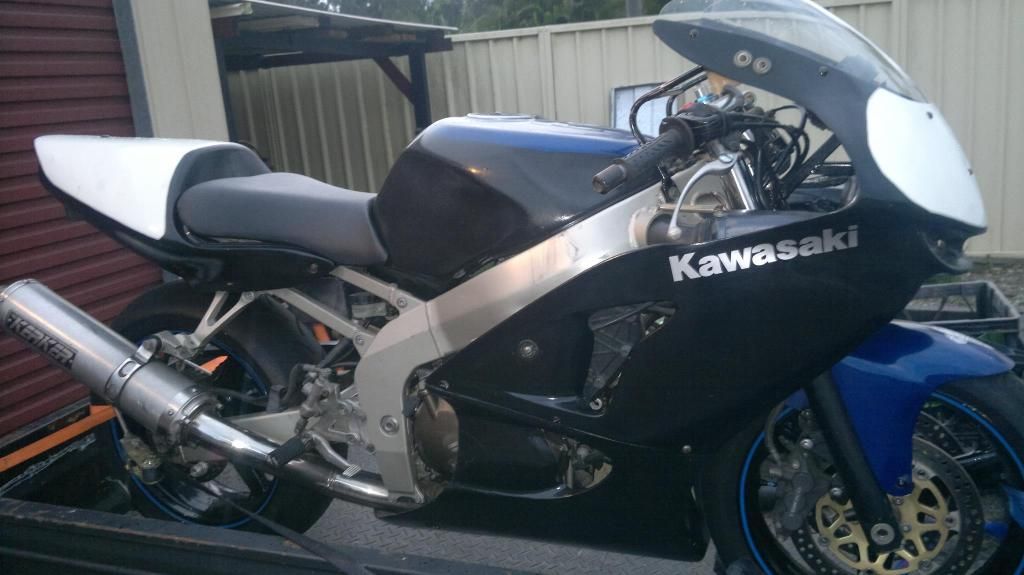
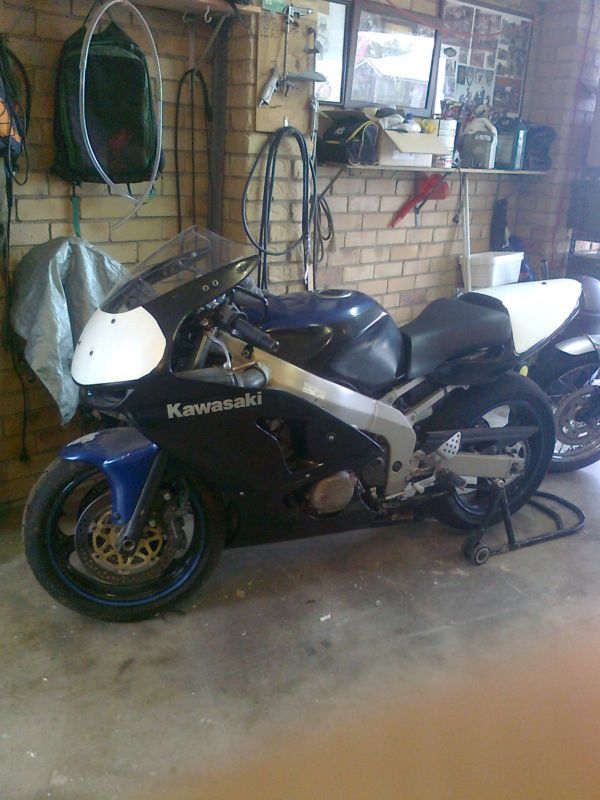
Pic as it stood in the Ad.
![Image]()
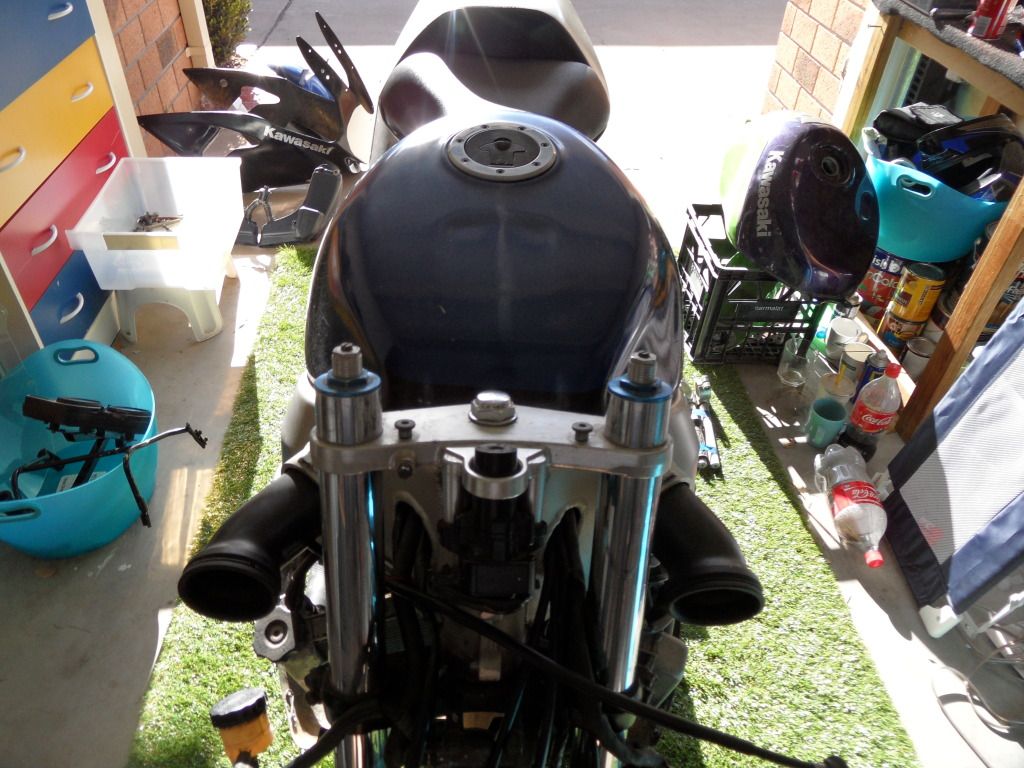
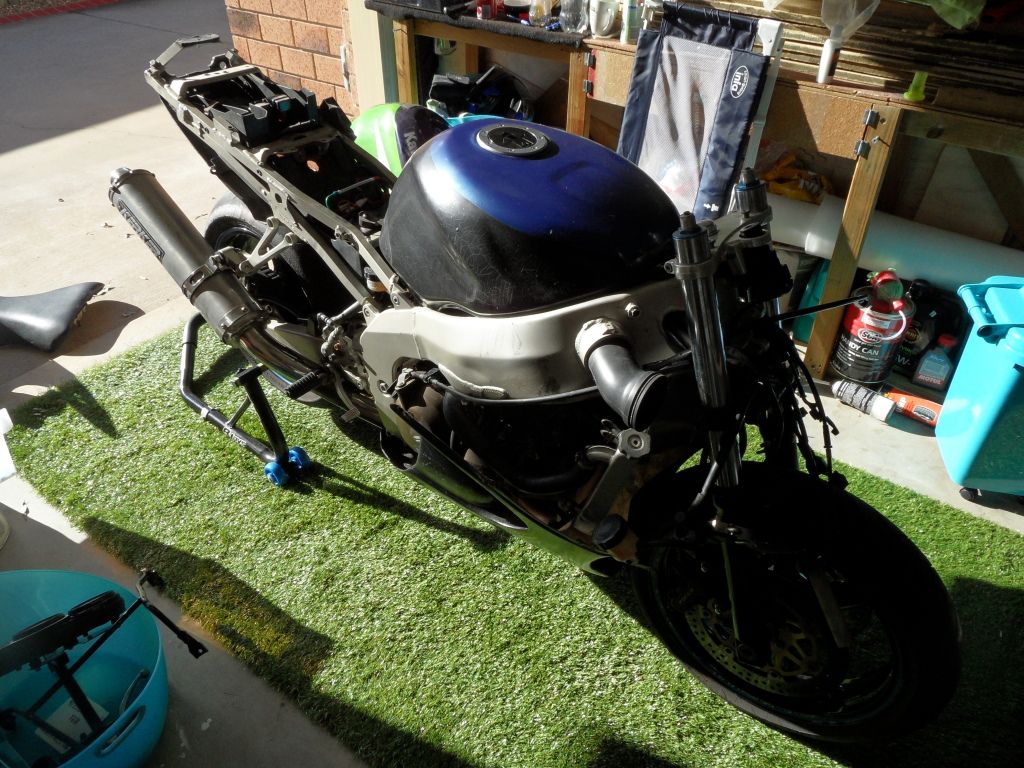
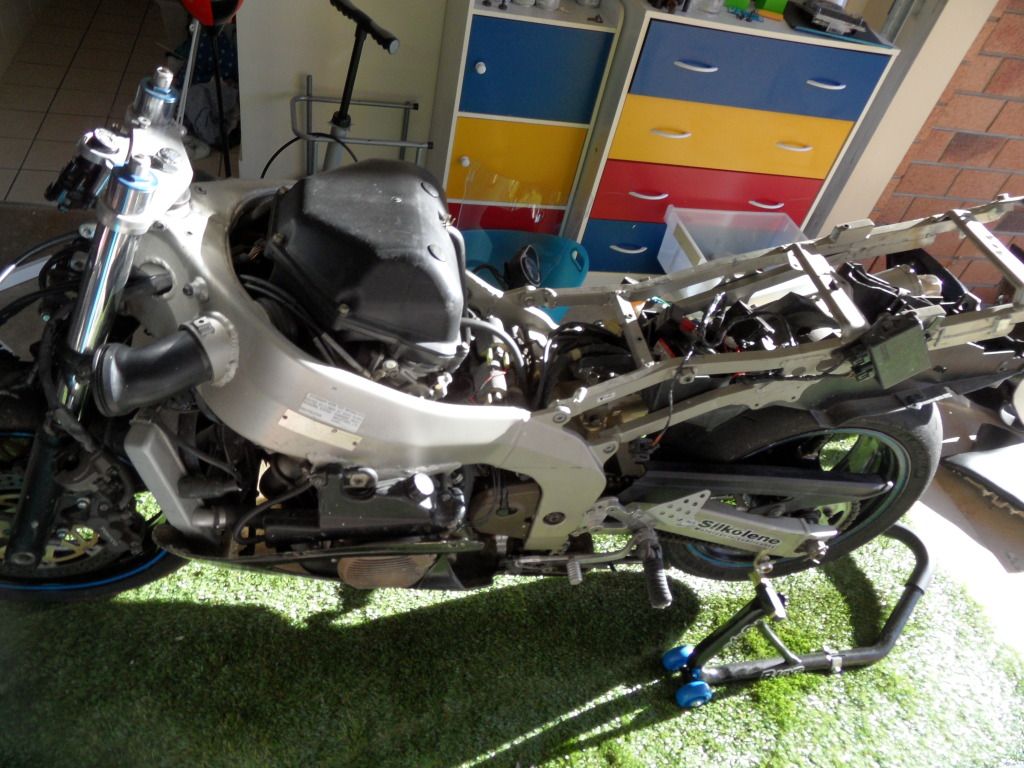
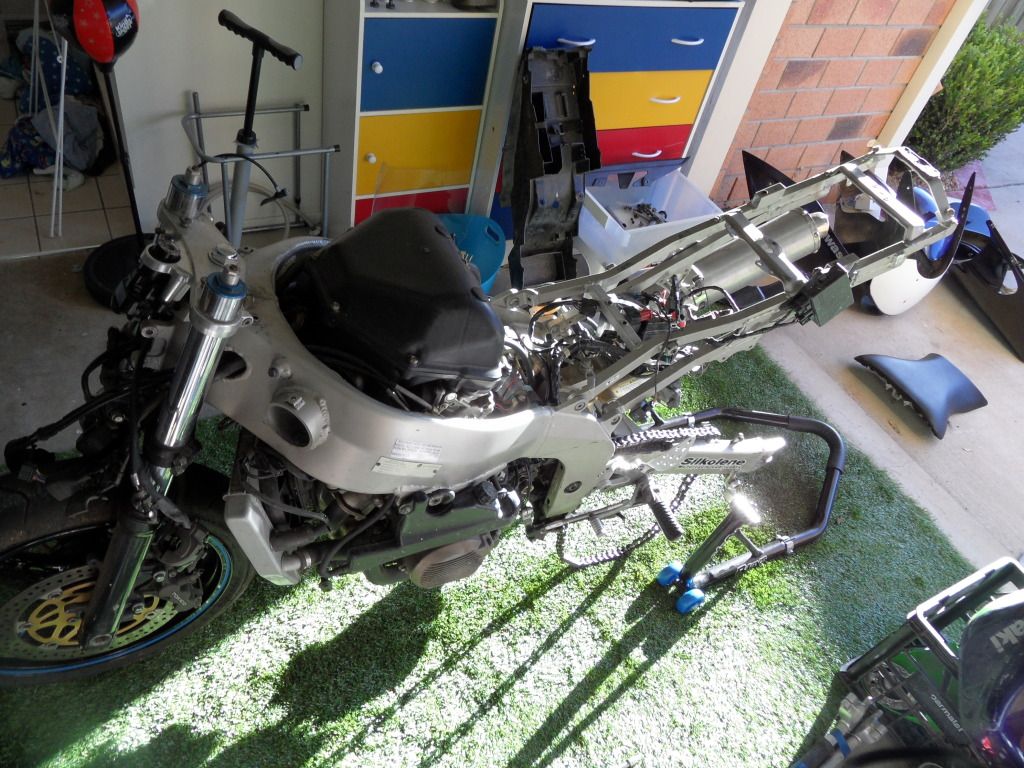
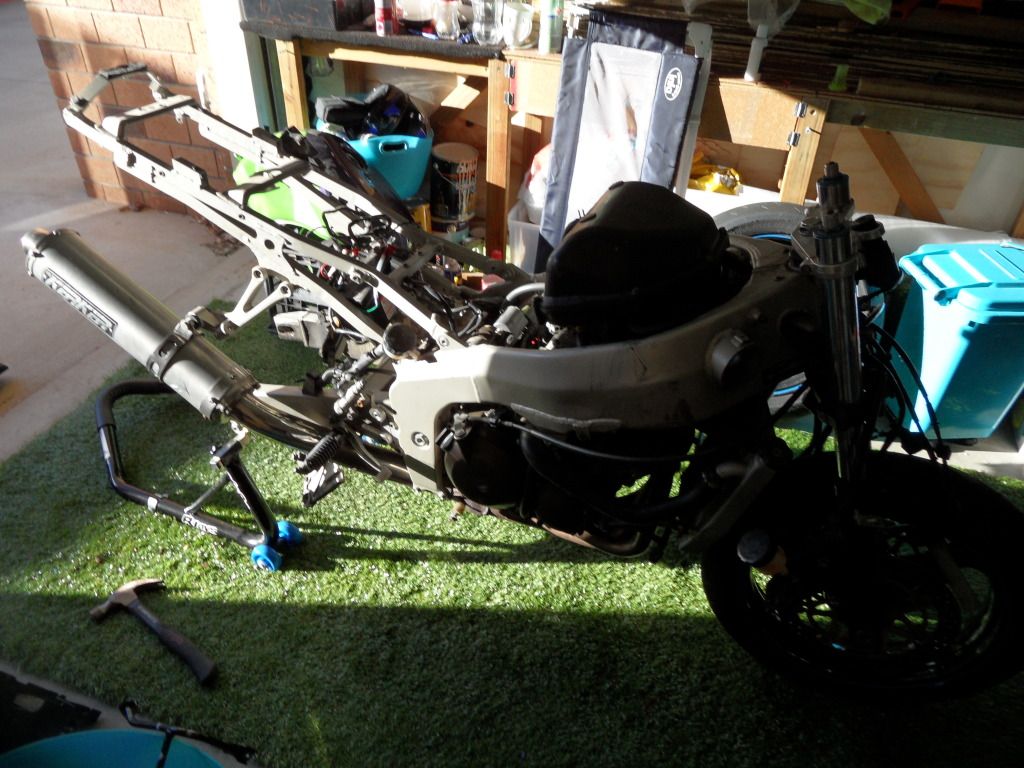
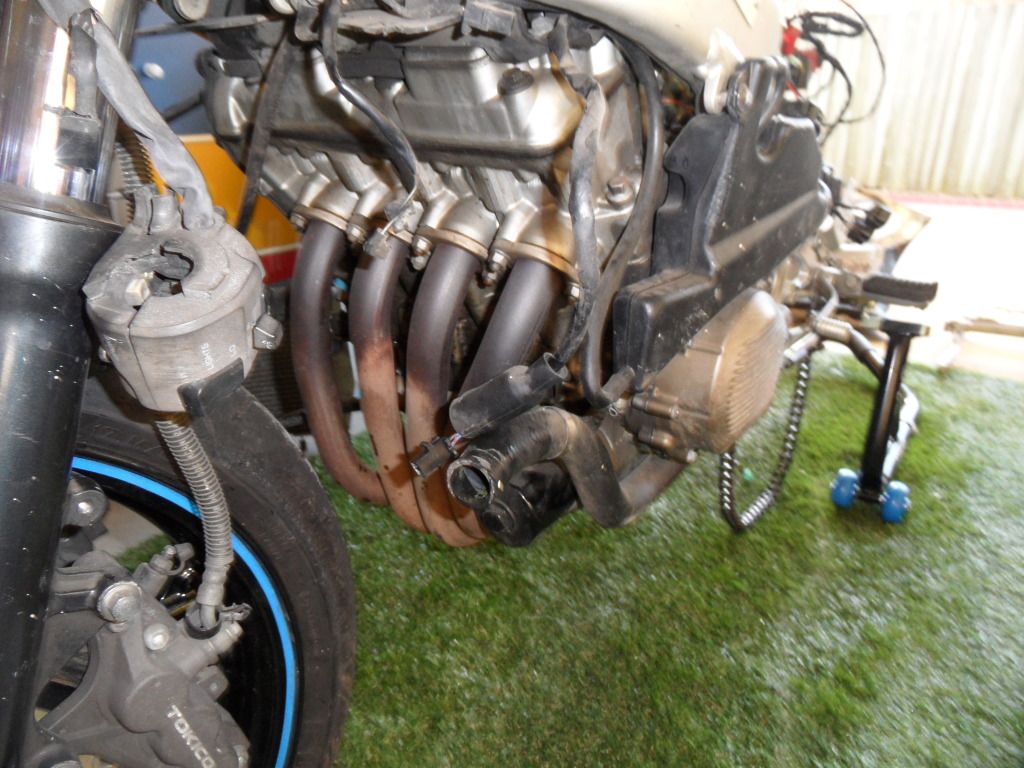
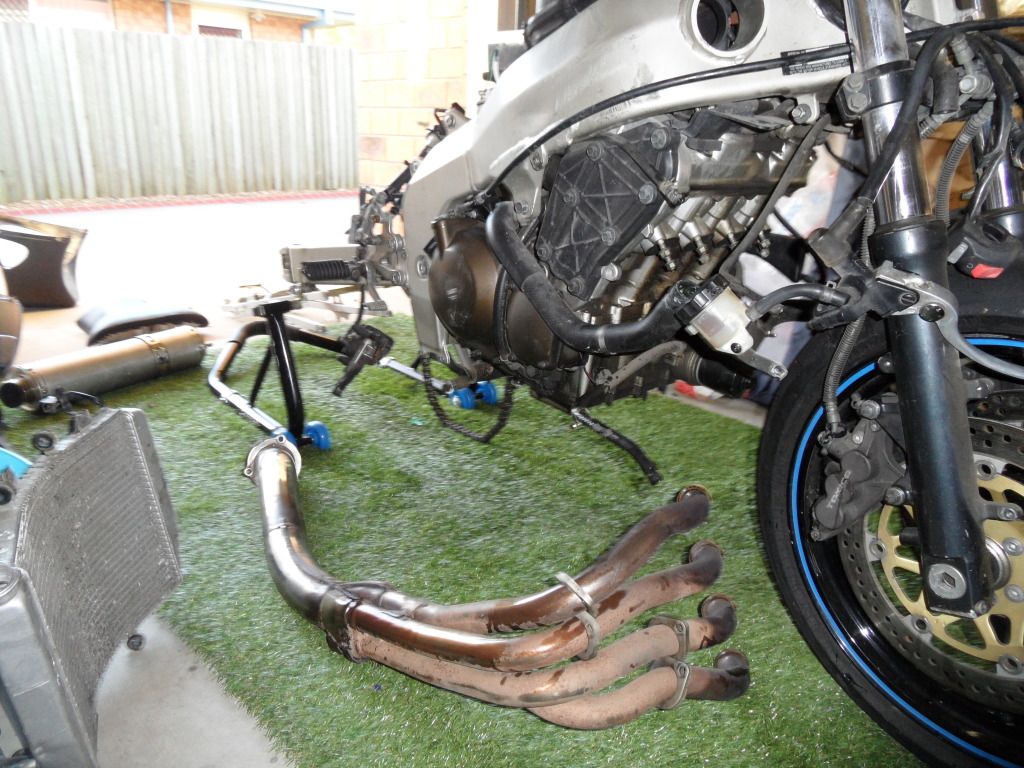
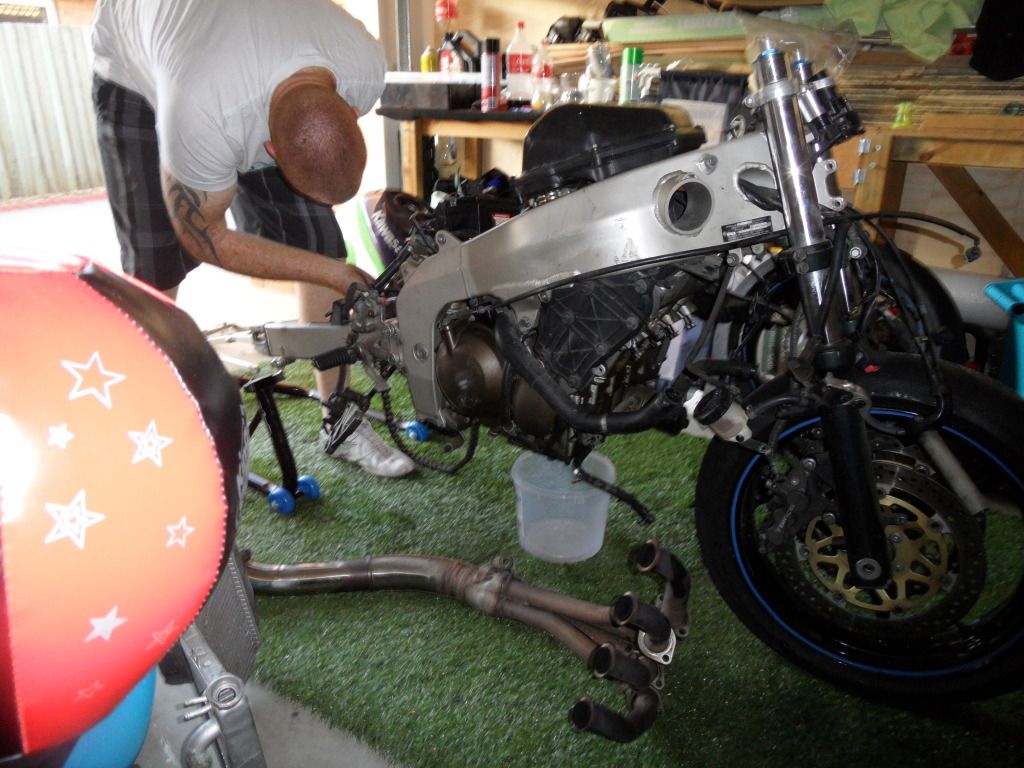
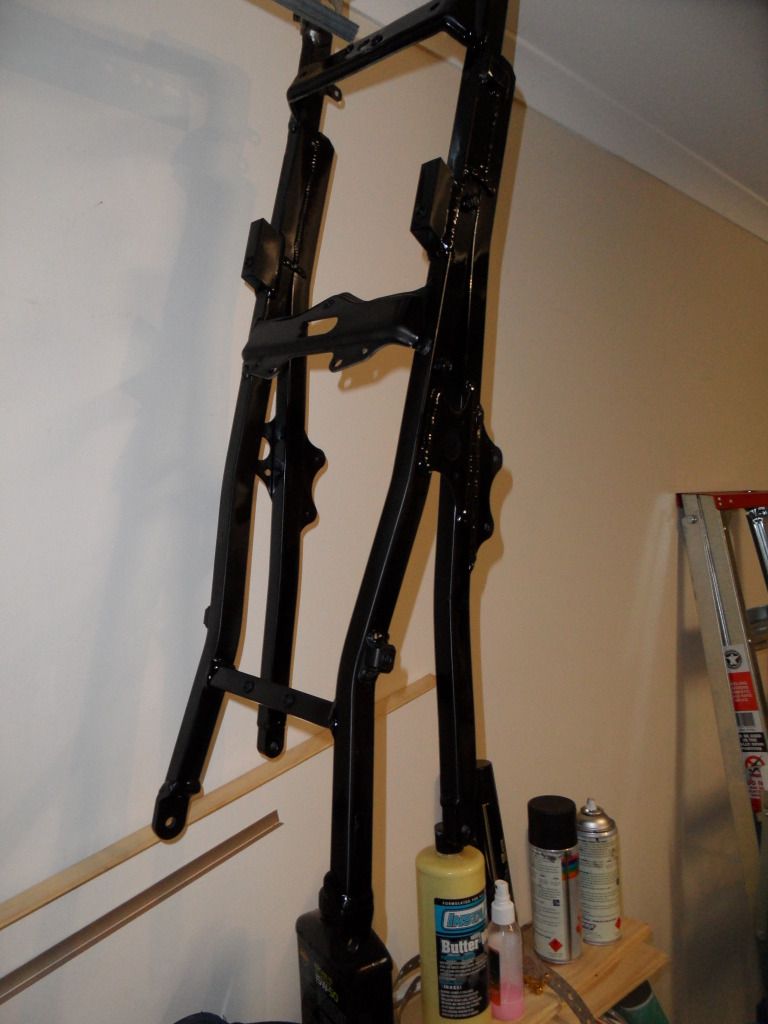
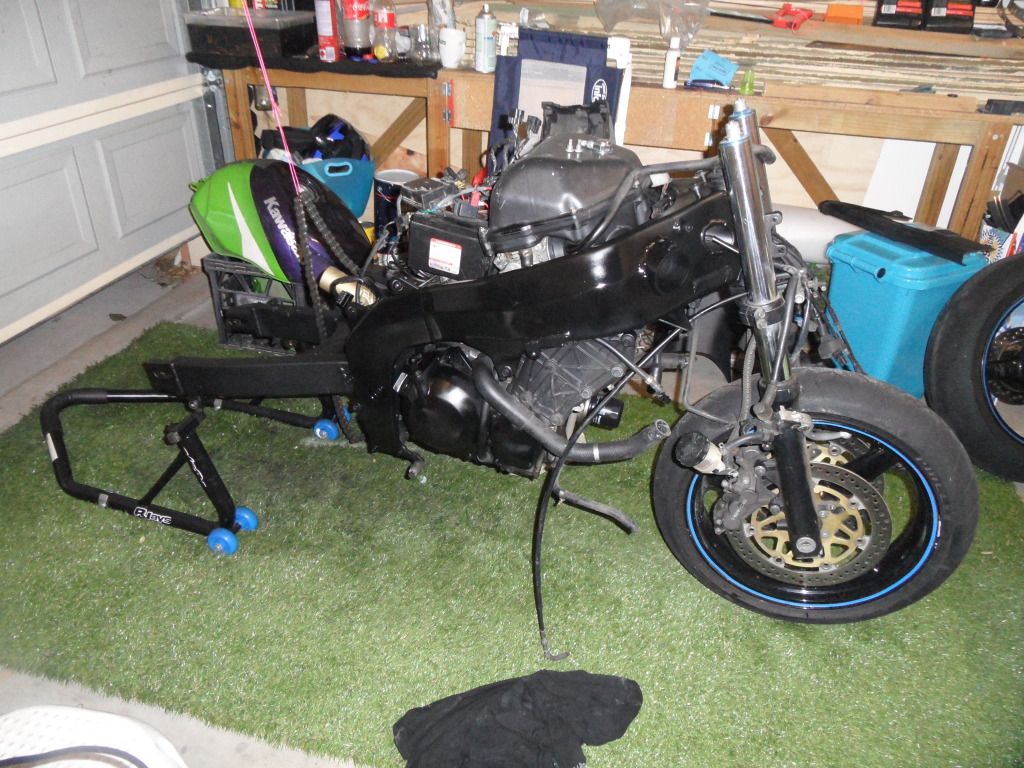
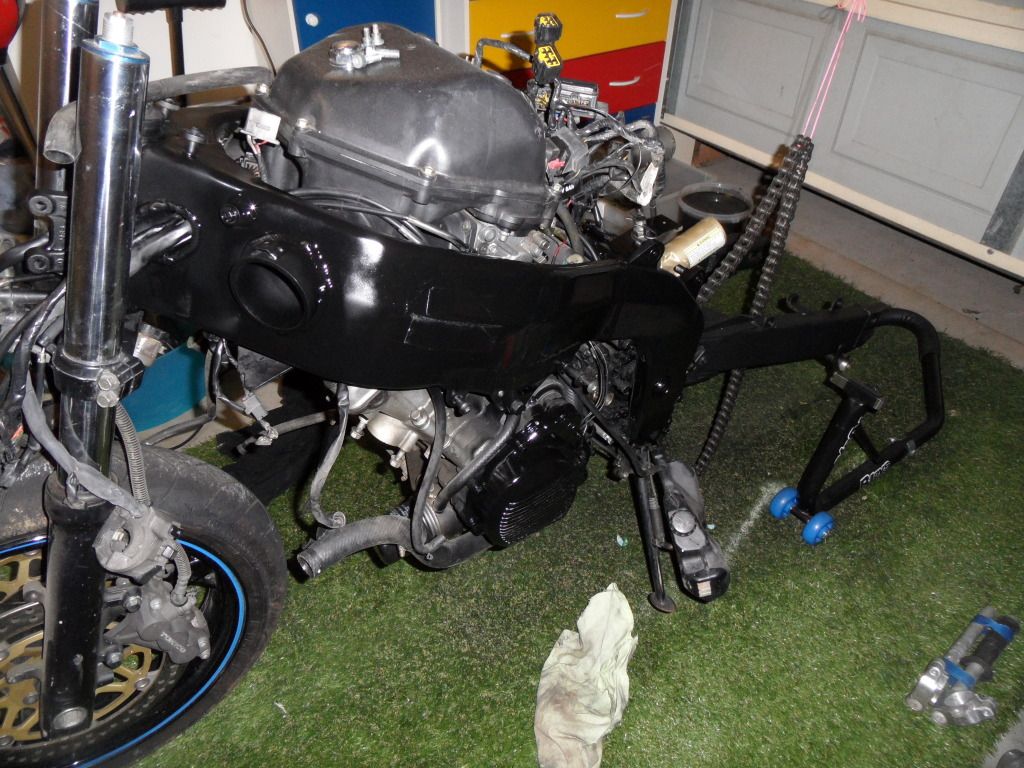
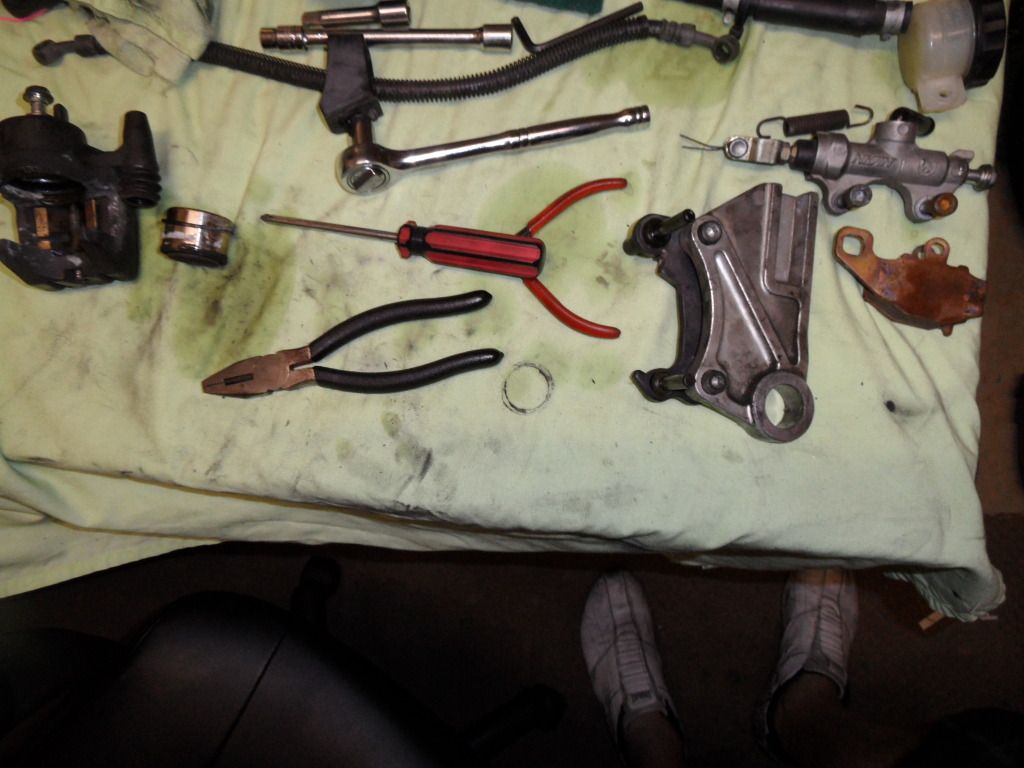
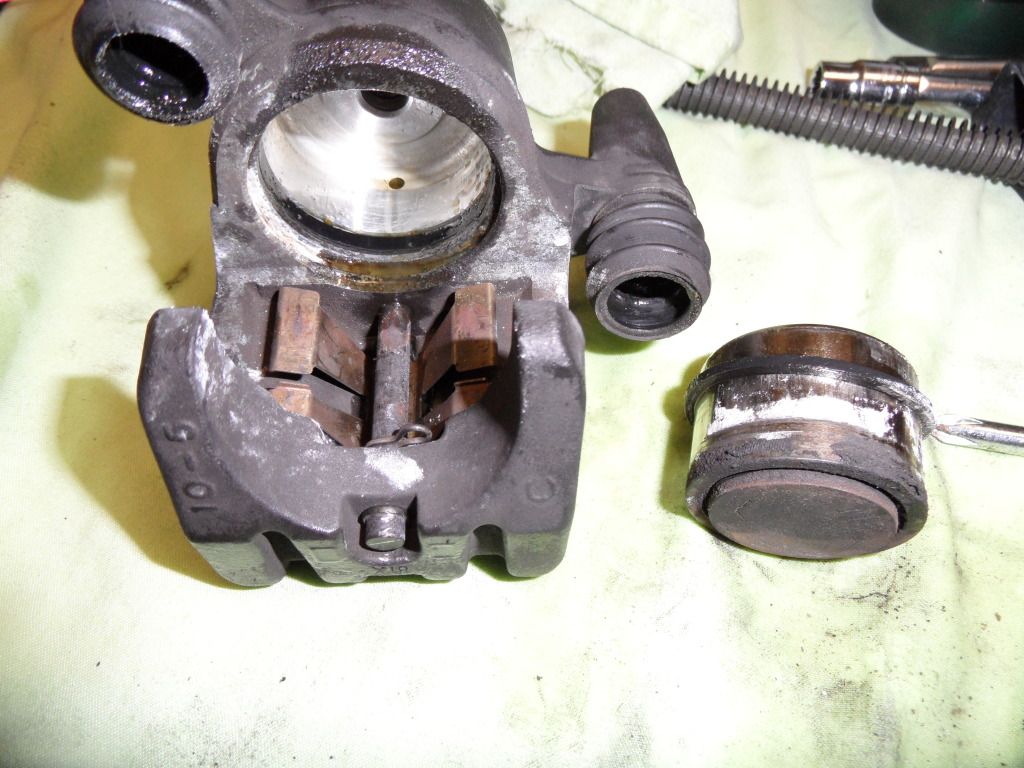
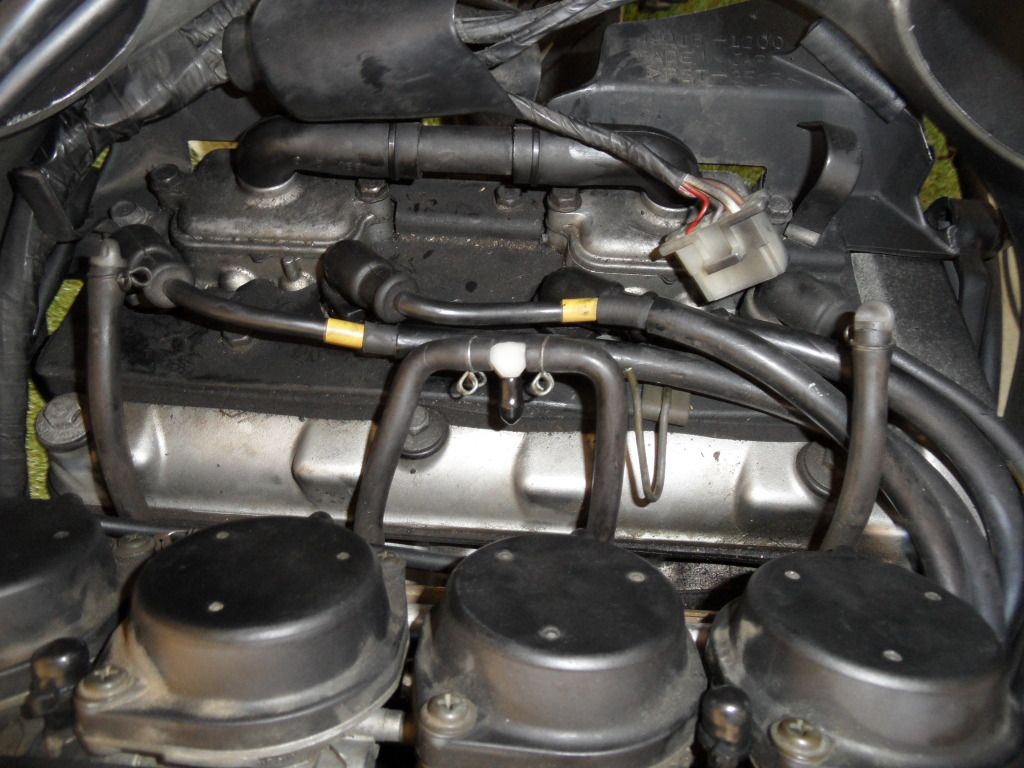
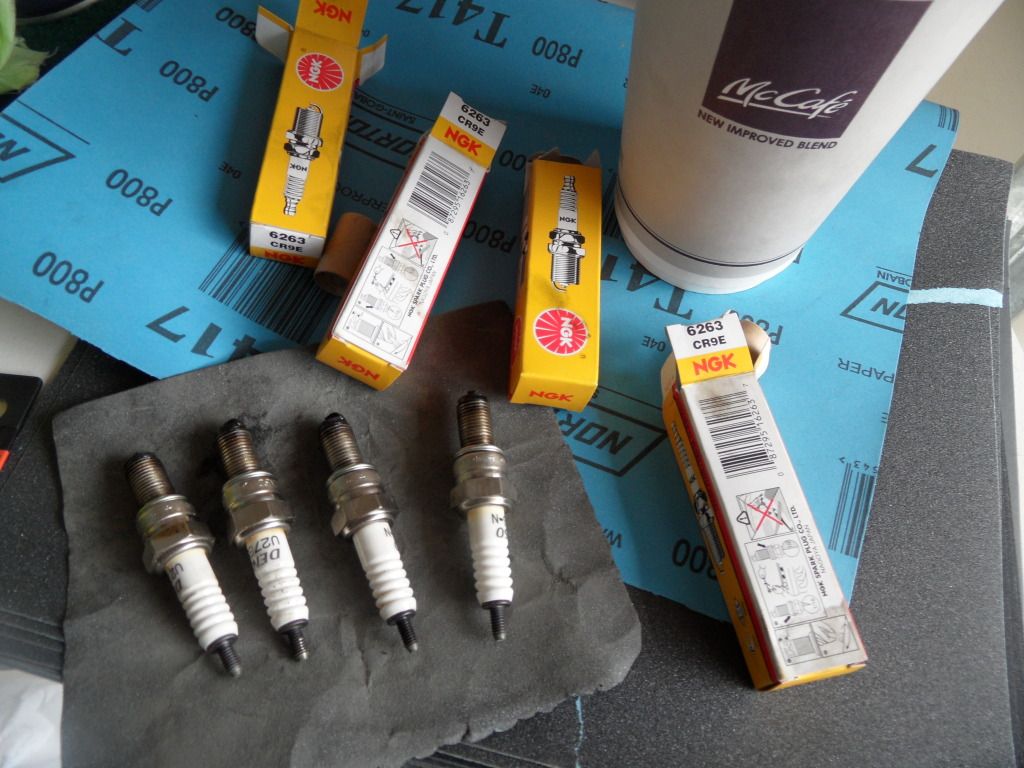
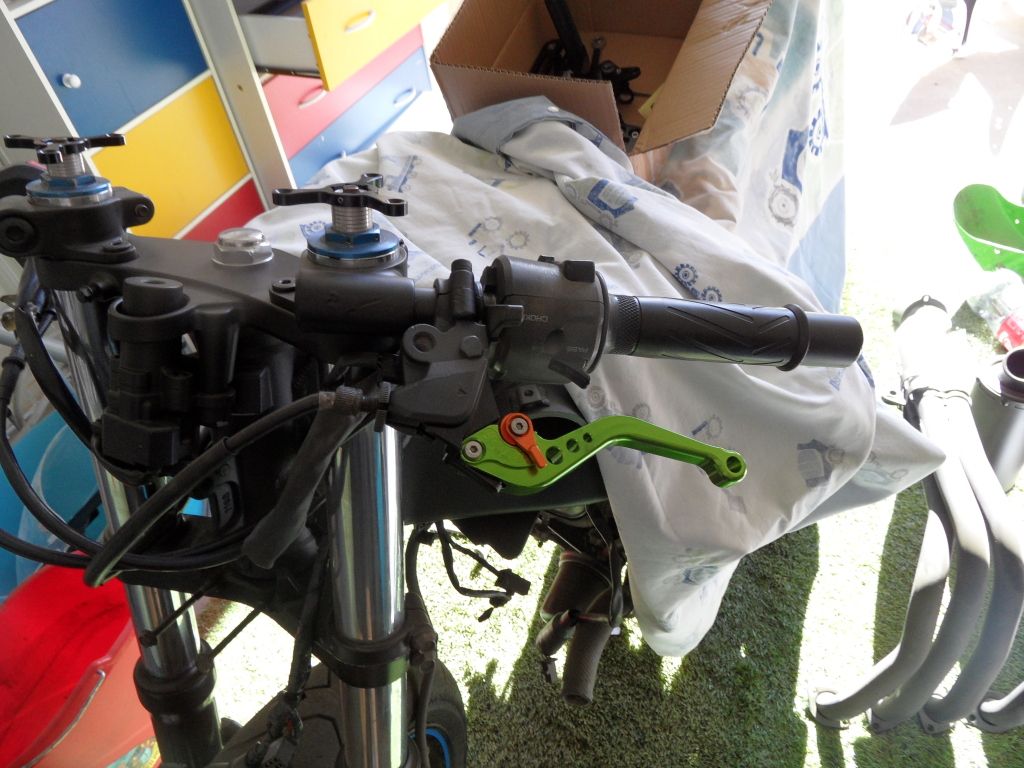
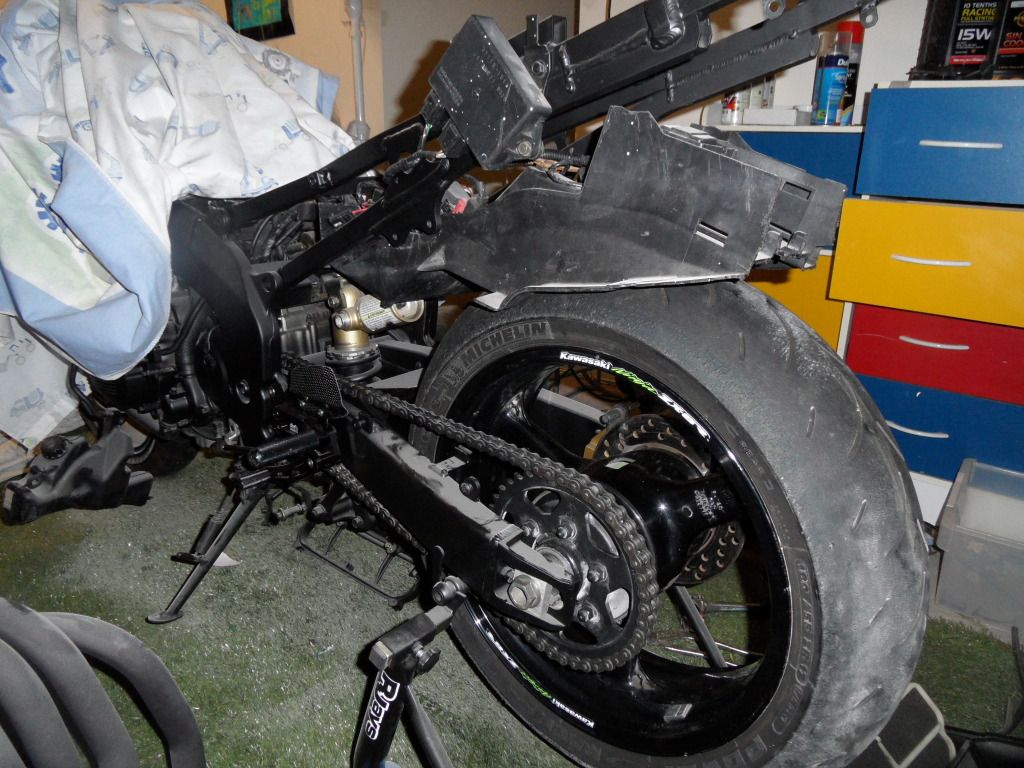
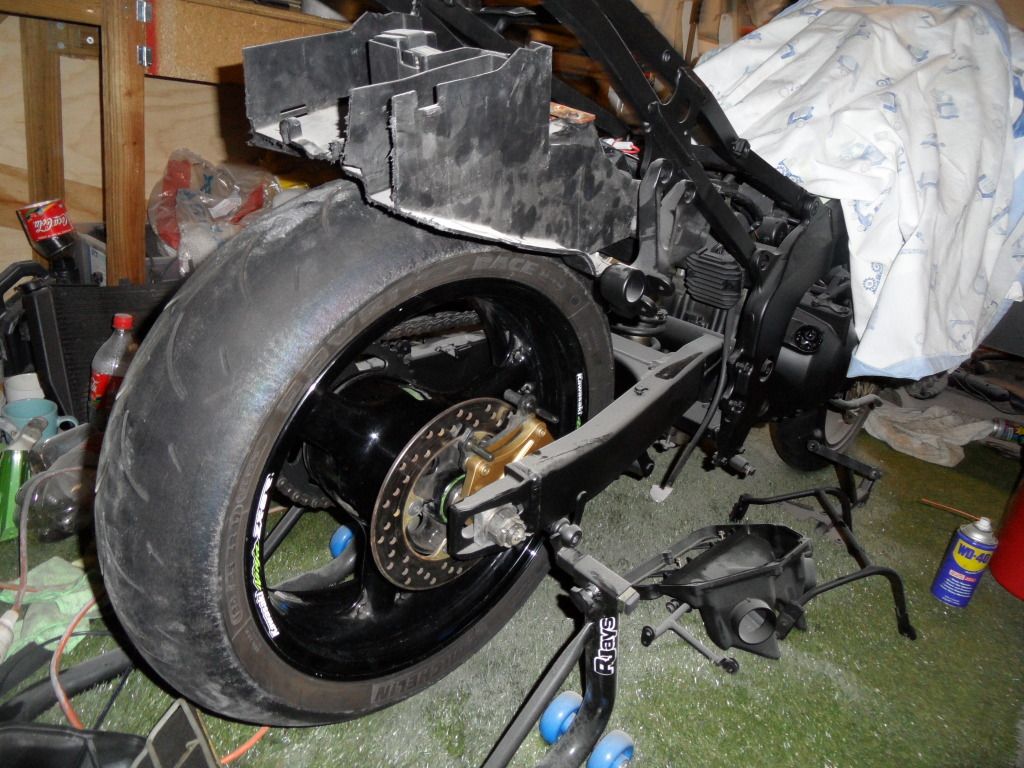
Its an older model and a bit tardy looking but mechanially all good from what I could see. Will know more once I get it home and start stripping it down for a once over.
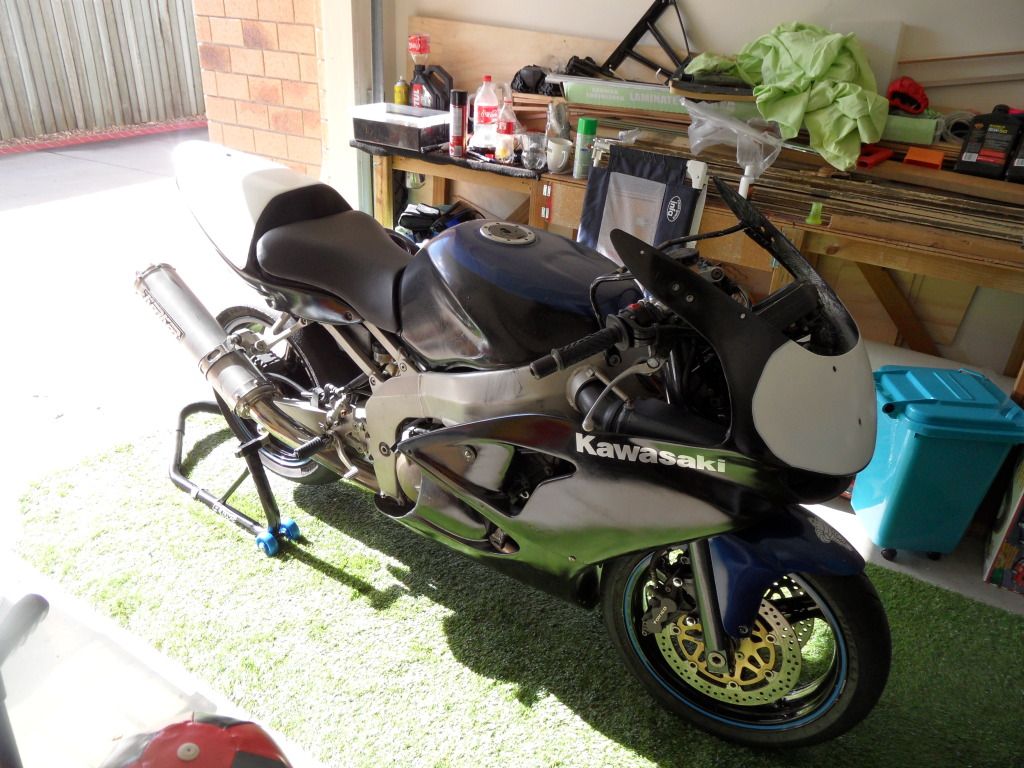
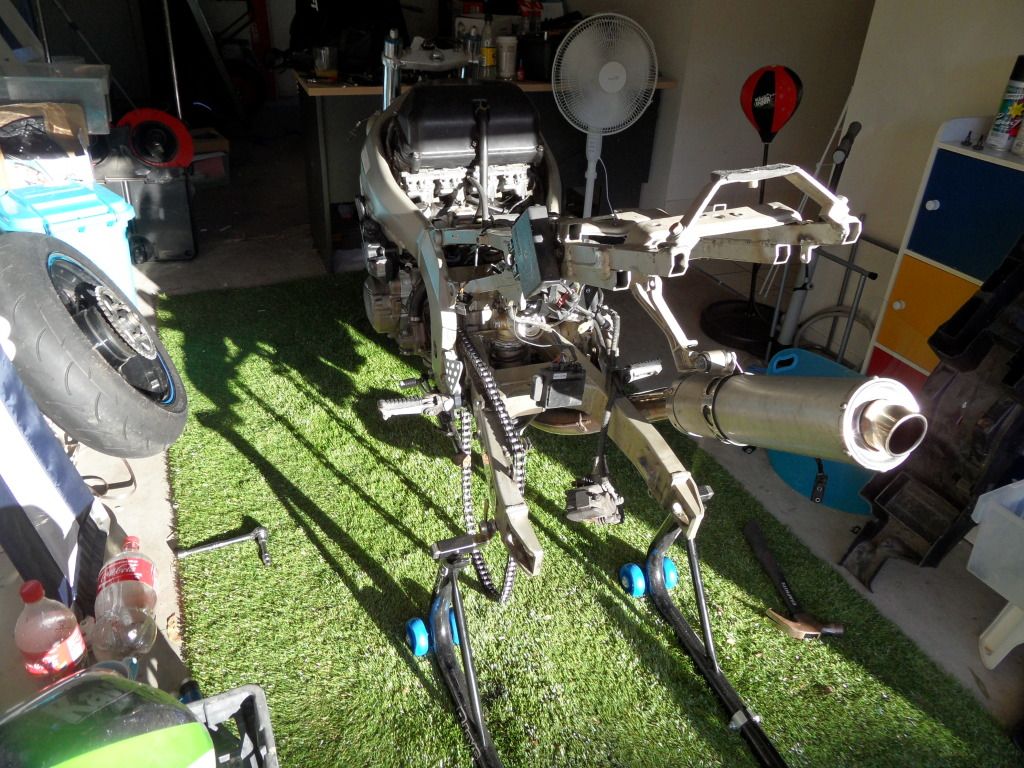
All loaded up and ready to transport home
![Image]()
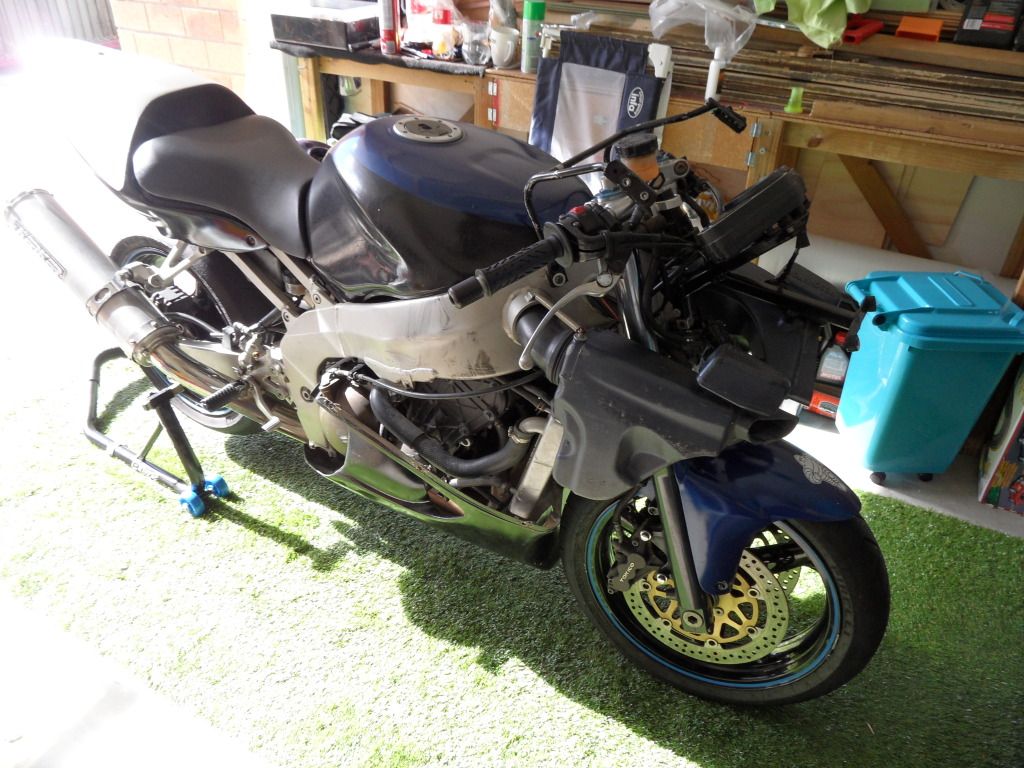
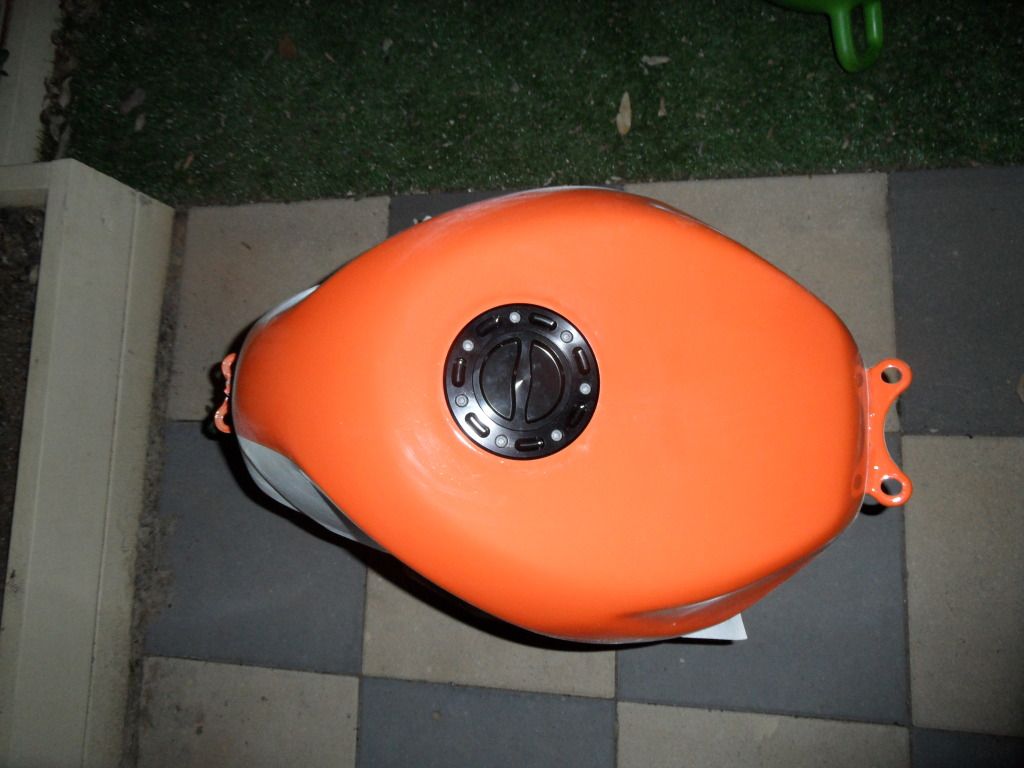
Pic as it stood in the Ad.
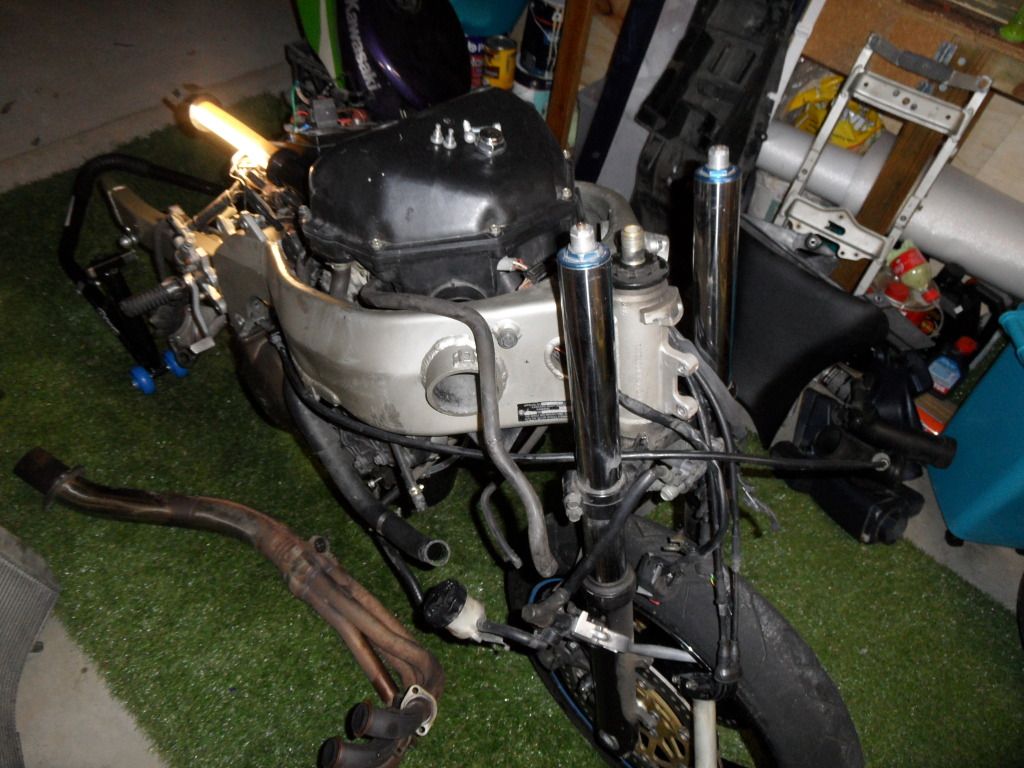
Its an older model and a bit tardy looking but mechanially all good from what I could see. Will know more once I get it home and start stripping it down for a once over.
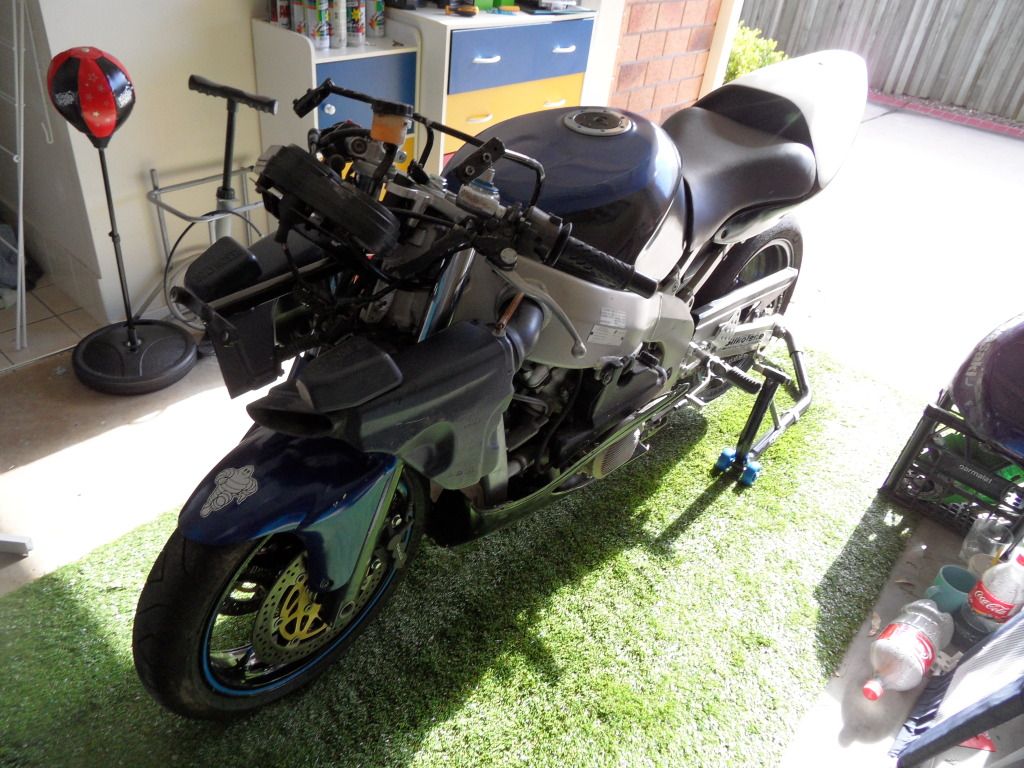
All loaded up and ready to transport home