
So for the longest time I have been anticipating a crash and had all kinds of plans to do a fighter build afterwards, well I finally got tired of waiting and decided to just go for it. I am still taking baby steps at the moment as money is sort of an issue but never the less, ITS ON BITCHES! I am super pumped about the easy things are going so far and don't plan on being finished for quite some time. Now for the pictures
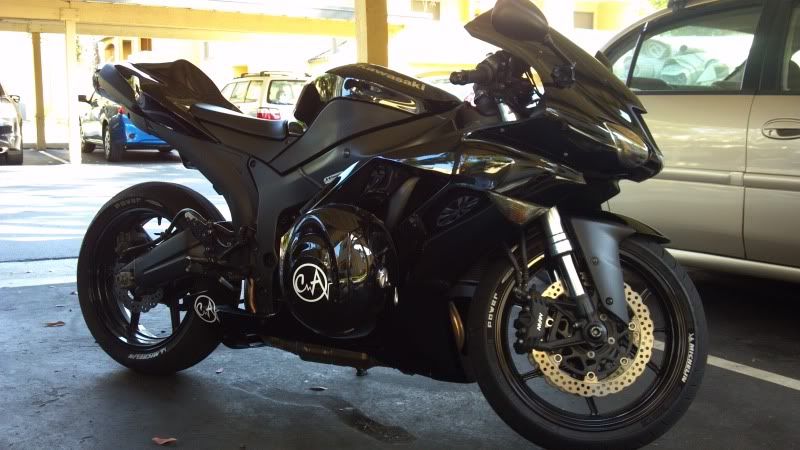
This is the bitch! Taken a couple of weeks ago
![Image]()
And right before tear down
![Image]()
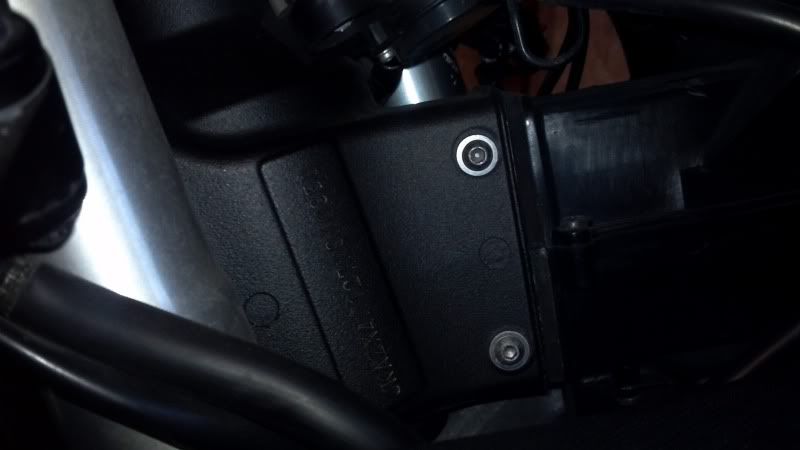
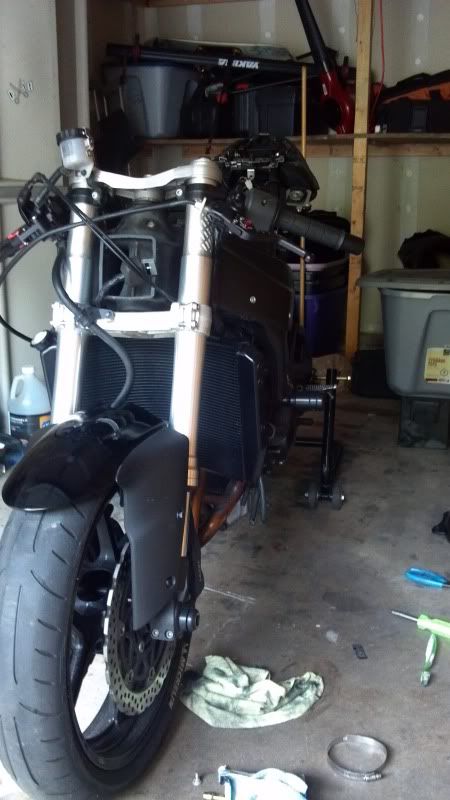
Now even before taking it apart I could see I was going to have a issue with the front end. The intake portion of the frame sticks out way past the forks!
![Image]()
![Image]()
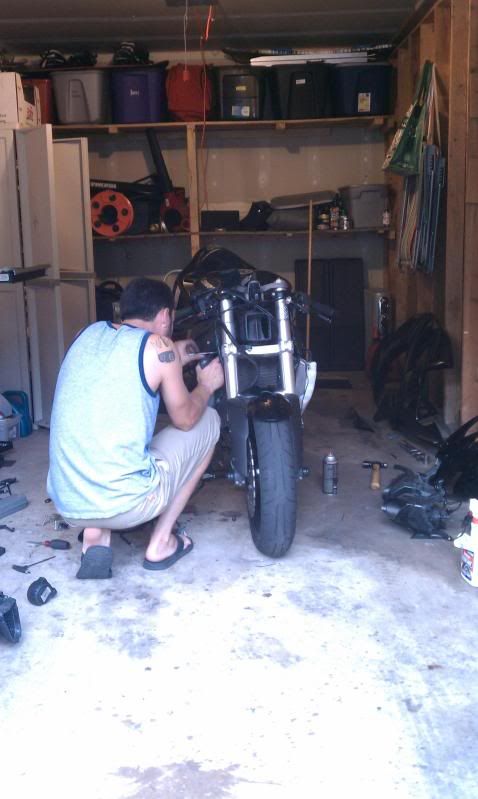
I forgot to take a picture of the harness before I started moving it but fairings off
![Image]()
![Image]()
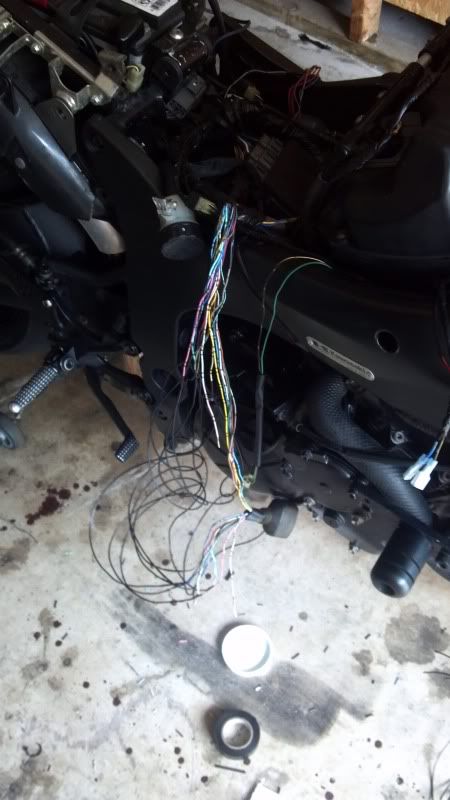
Couldn't just leave the harness the way it was, wouldn't reach where I needed it too so I had to open her up
![Image]()
And stretch her out, had to add about a foot and a half to the headlights, blinkers and gauge cluster portions of the harness
![Image]()
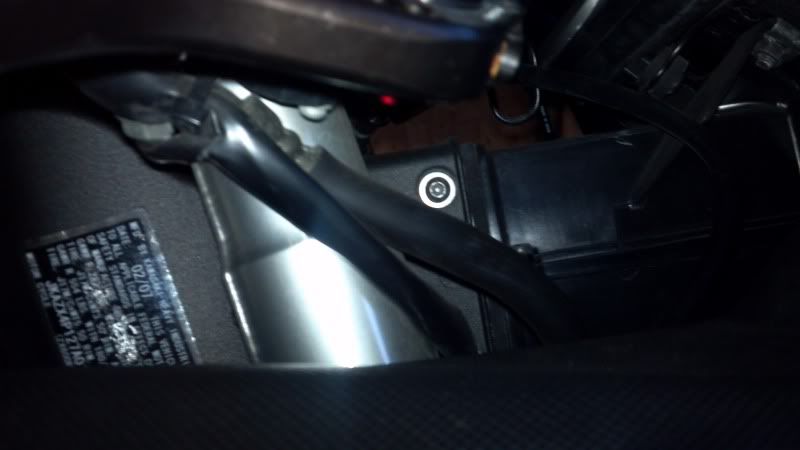
ok so the wires are out of the way but now the ignition looks like a dogs nut sack and the radiator sticks out like a sore thumb. Won't be having that
![Image]()
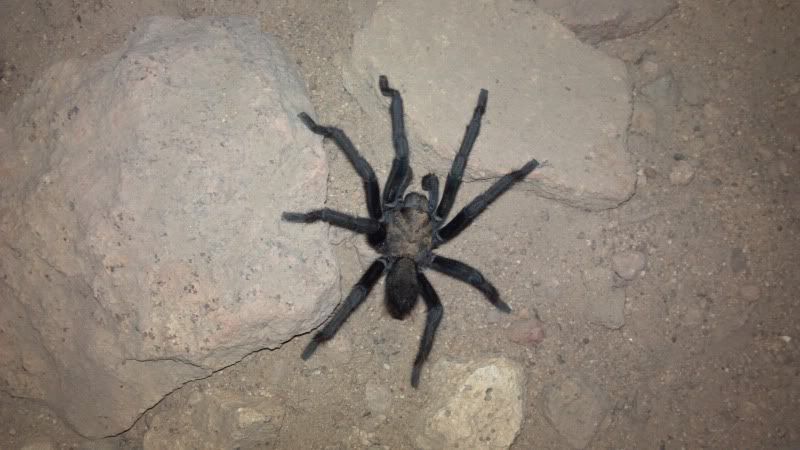
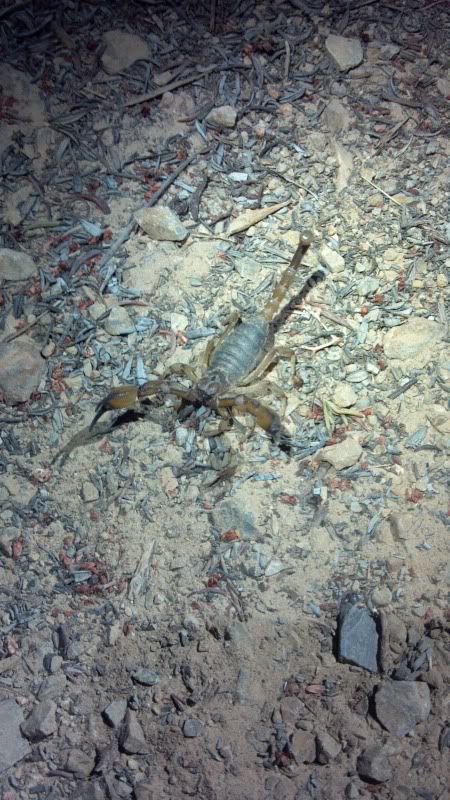
Decided to take a night hike with my sister and her friend to stretch the legs and ran into these guys
![Image]()
![Image]()
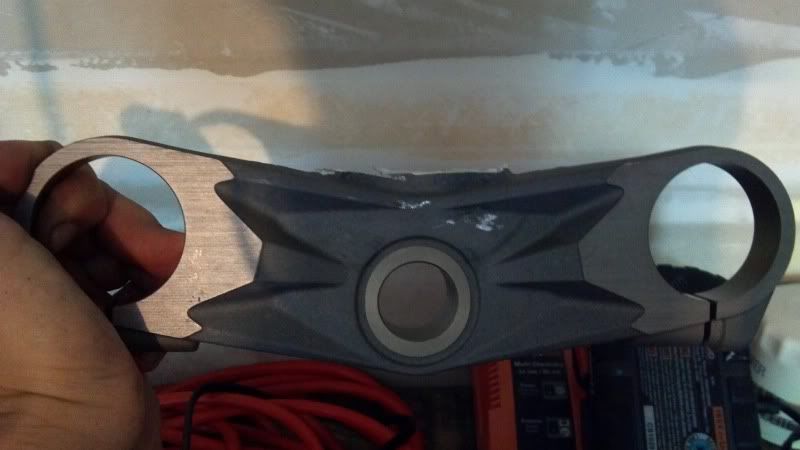
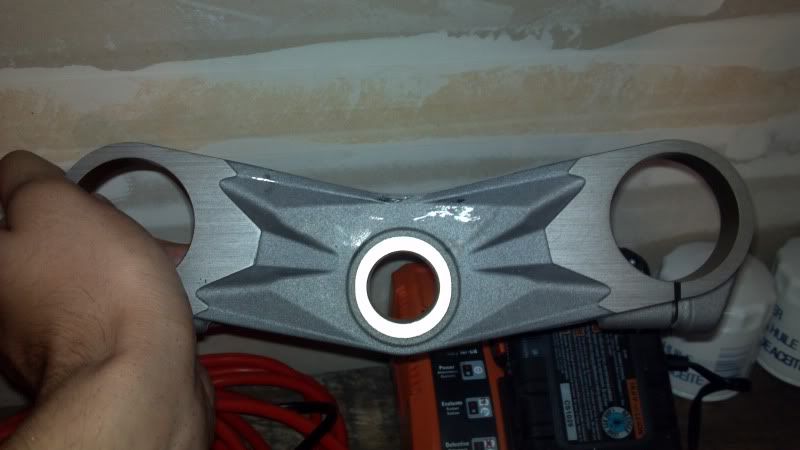
Ignition mount must go now
![Image]()
![Image]()
![Image]()
And painted the radiator
![Image]()
cured at 200° for 1 how per directions
![Image]()
Much better dont you think?
this nut looked like a cock and balls
![Image]()
I still ate it!
Future overflow
![Image]()
Thought it was unique, a little search proved me wrong
Most expensive party of the project do far would be this little number
![Image]()
Dot approved headlight off of a ktm
Sent from your moms room
This is the bitch! Taken a couple of weeks ago
And right before tear down
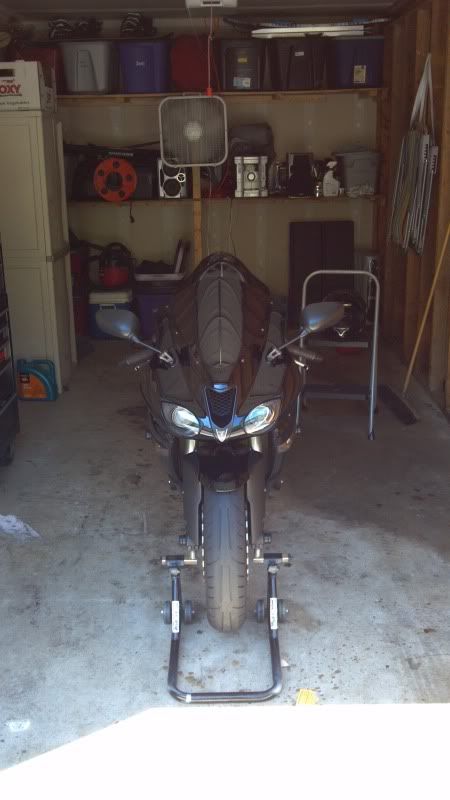
Now even before taking it apart I could see I was going to have a issue with the front end. The intake portion of the frame sticks out way past the forks!
I forgot to take a picture of the harness before I started moving it
but fairings off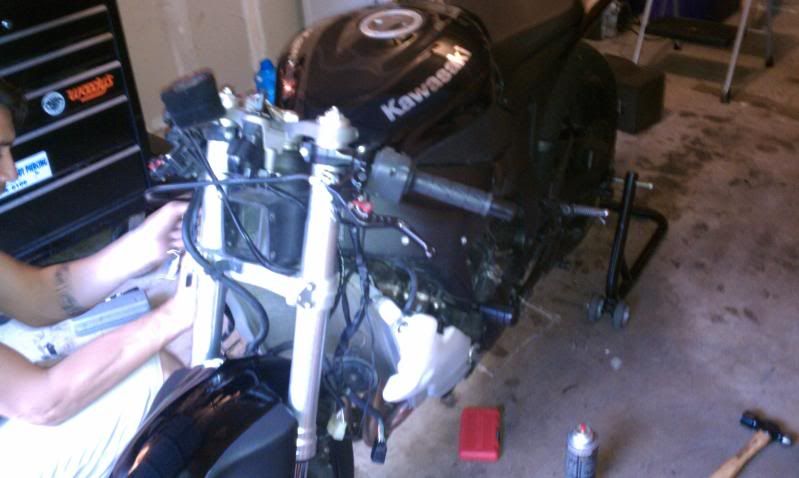
Couldn't just leave the harness the way it was, wouldn't reach where I needed it too so I had to open her up
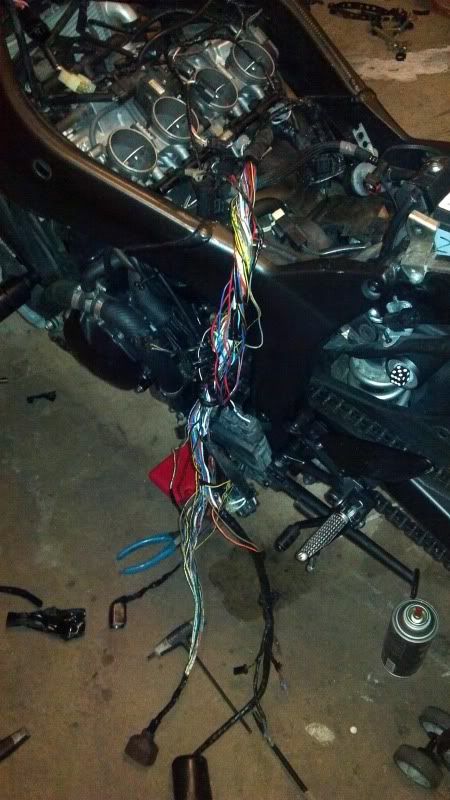
And stretch her out, had to add about a foot and a half to the headlights, blinkers and gauge cluster portions of the harness
ok so the wires are out of the way but now the ignition looks like a dogs nut sack and the radiator sticks out like a sore thumb. Won't be having that

Decided to take a night hike with my sister and her friend to stretch the legs and ran into these guys
Ignition mount must go now
And painted the radiator
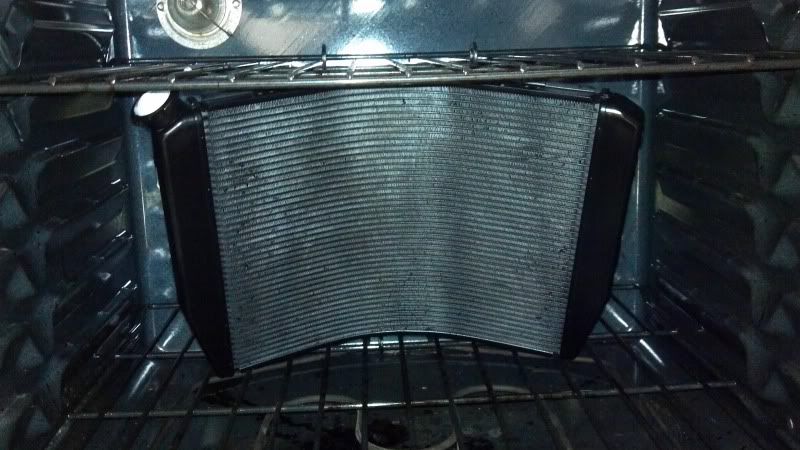
cured at 200° for 1 how per directions
Much better dont you think?
this nut looked like a cock and balls
I still ate it!
Future overflow
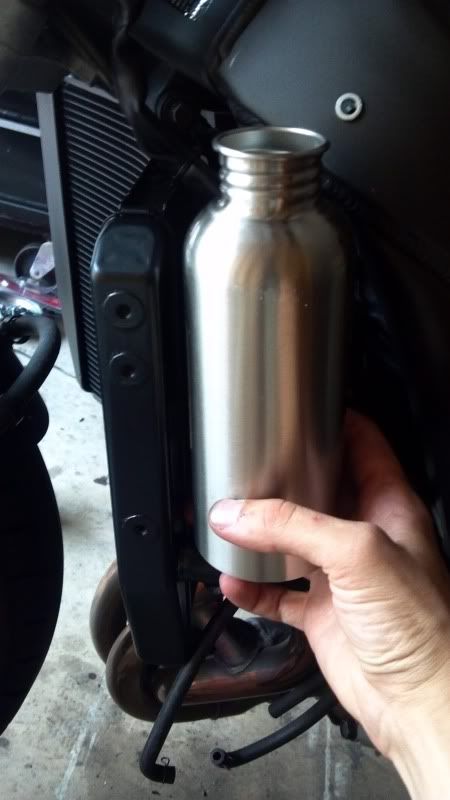
Thought it was unique, a little search proved me wrong
Most expensive party of the project do far would be this little number
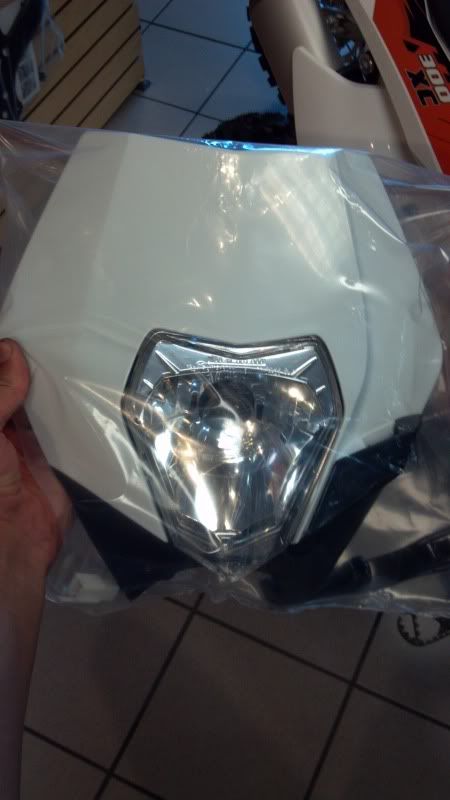
Dot approved headlight off of a ktm
Sent from your moms room


