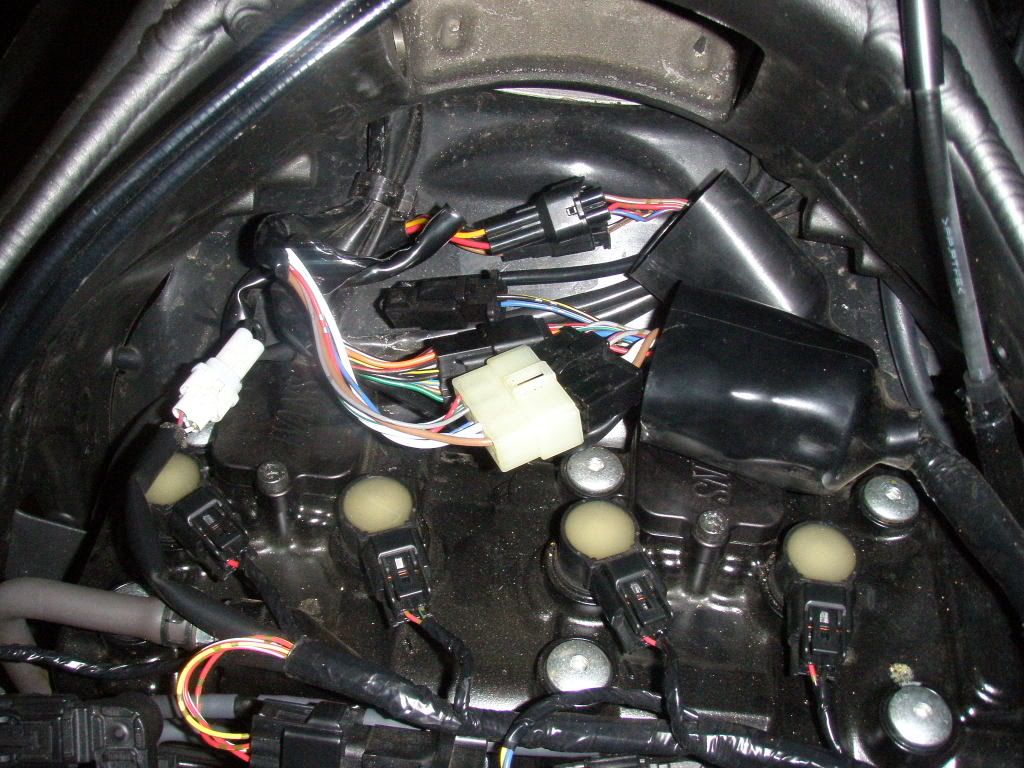

Since my bike is strictly tracked, I decided to delete the ignition. The following worked for me, and I found useful info on this site but do this at your own risk 
The wires need to be found, cut, and spliced
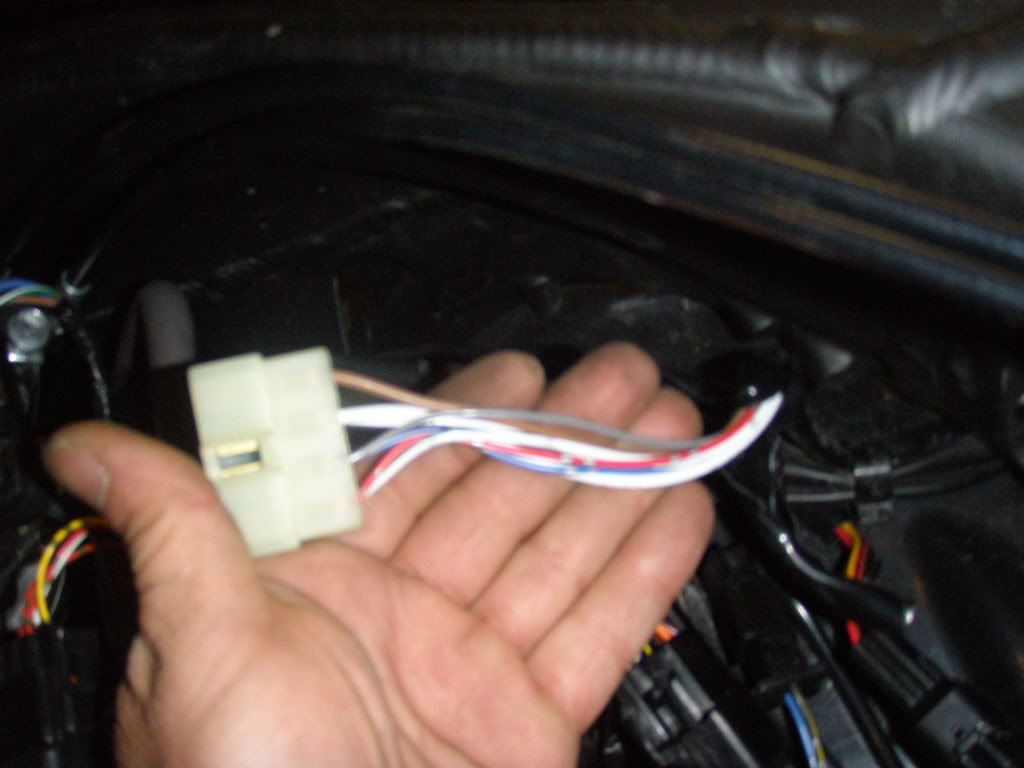
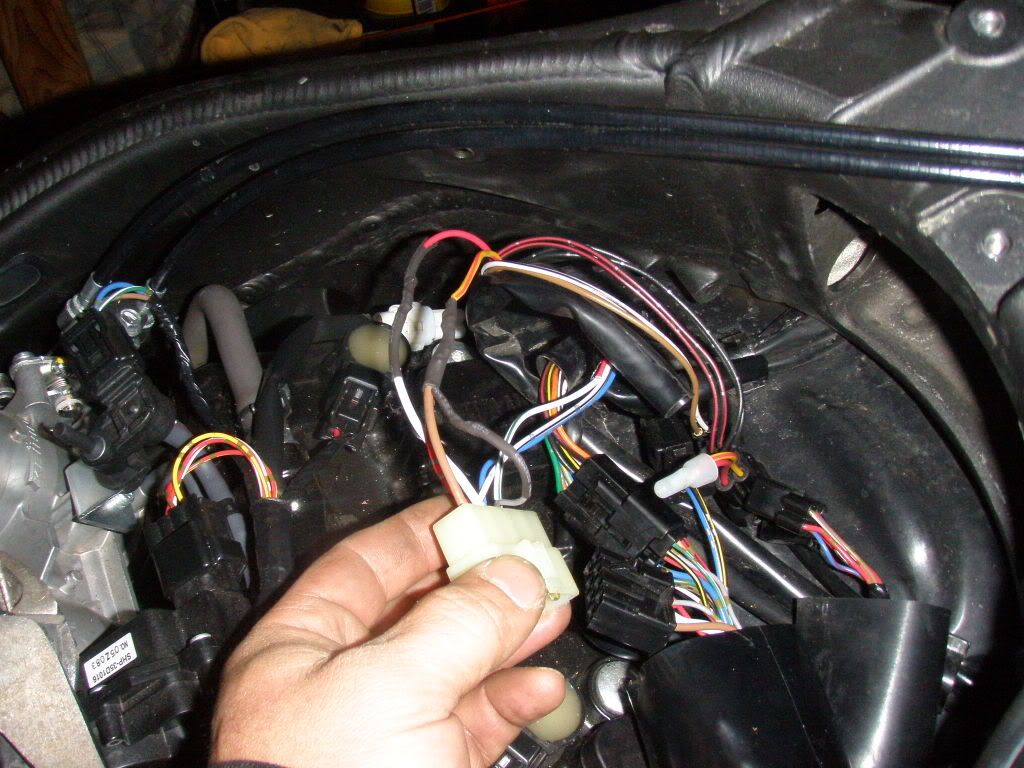
at the ignition
brown... this is the wire that becomes energized when you turn the key on
it goes from the ignition to the 15a ignition fuse
White... this is the wire that supplies power to the ignition switch; it is energized even when the key is in the off position. It goes from the 30a main fuse to the ignition switch.
Gray... this is the wire that sends a "signal" to the ECU when the key is turned to the on position. This wire needs a 100-ohm 1/8-watt resistor spliced into it to "trick" the ECU into thinking you are using the keyed ignition to start the bike.
OPTIONAL red... I reused this wire so I could power the accessories that I use on the track, my GPS based lap timer, and my hi-def GoPro camera. This wire, in its normal state, energizes your left and right front city lights and, in the rear, your tail light and license plate light. It energizes when the key is turned to the on position.
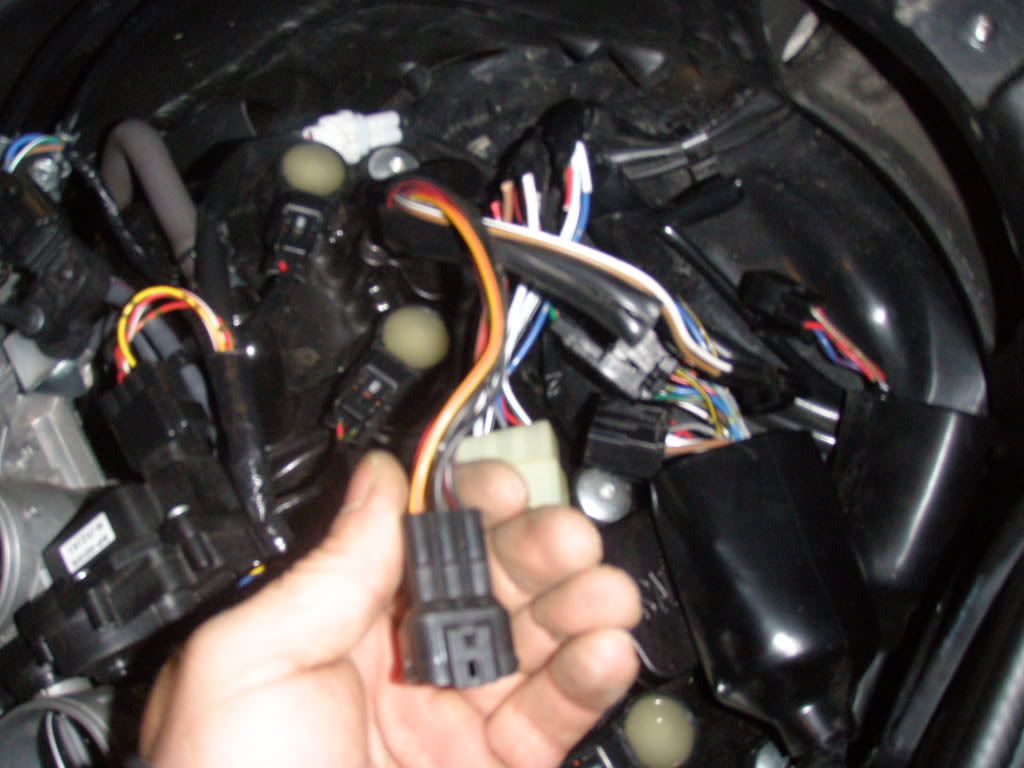
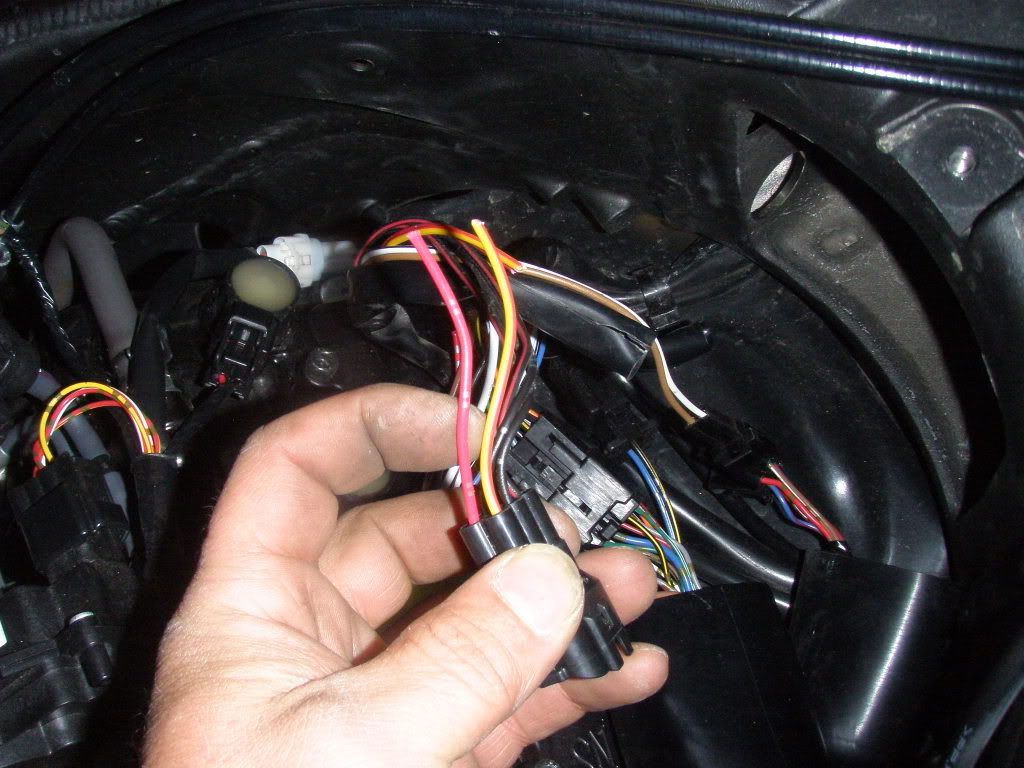
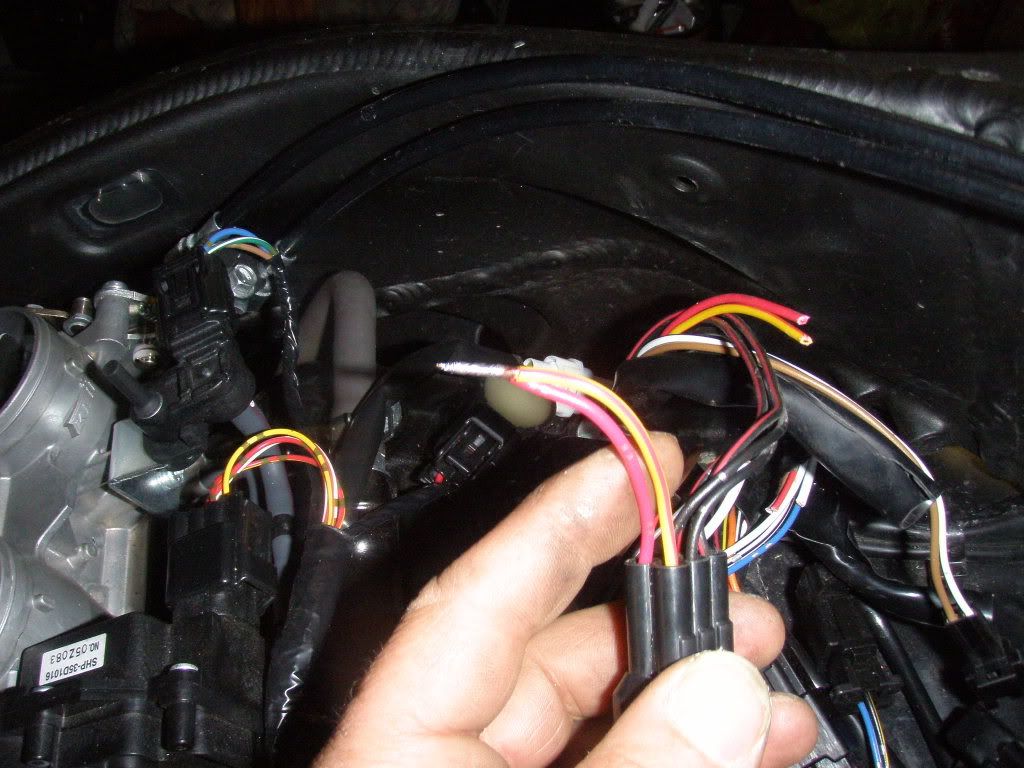
at the start stop switch
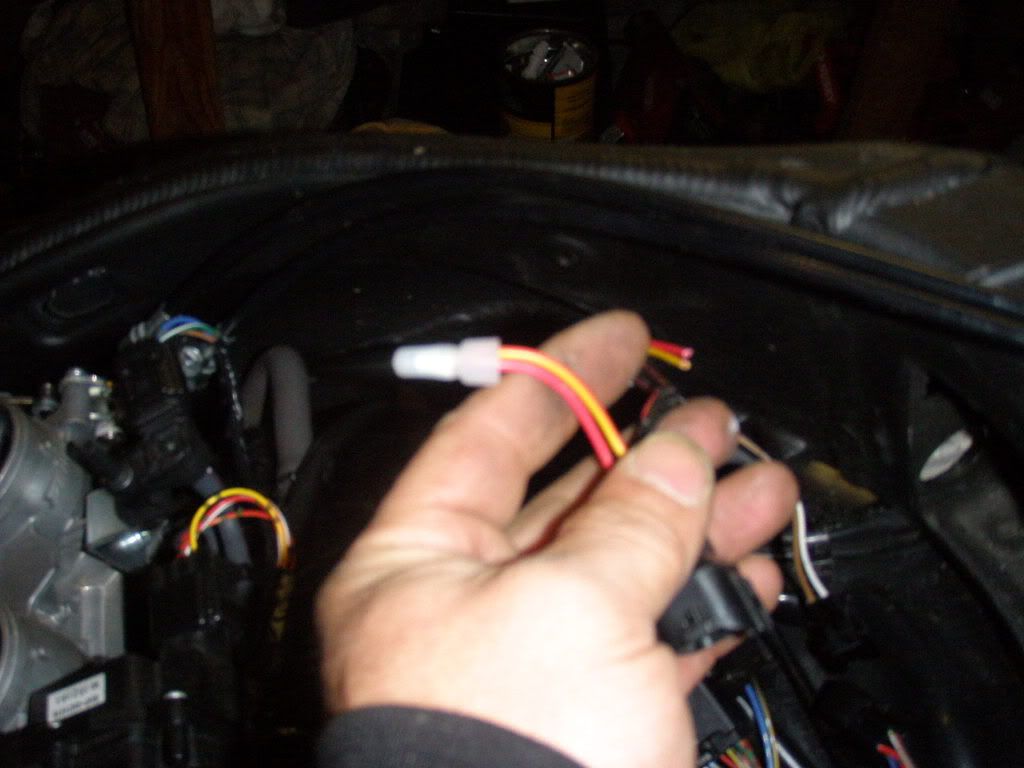
Yellow/red wire... this wire supplies power to the start/stop switch. It comes from the 15a ignition fuse and is energized when you turn the key to the on position. It is energized regardless of the position of the start/stop switch.
Red wire... this wire becomes energized when the start/stop switch is in the start position. It goes to the fuel pump relay, coil wires, and to ECU.
o.k., let's start cutting...:buzzsaw:
The wires need to be found, cut, and spliced
at the ignition
brown... this is the wire that becomes energized when you turn the key on
it goes from the ignition to the 15a ignition fuse
White... this is the wire that supplies power to the ignition switch; it is energized even when the key is in the off position. It goes from the 30a main fuse to the ignition switch.
Gray... this is the wire that sends a "signal" to the ECU when the key is turned to the on position. This wire needs a 100-ohm 1/8-watt resistor spliced into it to "trick" the ECU into thinking you are using the keyed ignition to start the bike.
OPTIONAL red... I reused this wire so I could power the accessories that I use on the track, my GPS based lap timer, and my hi-def GoPro camera. This wire, in its normal state, energizes your left and right front city lights and, in the rear, your tail light and license plate light. It energizes when the key is turned to the on position.
at the start stop switch
Yellow/red wire... this wire supplies power to the start/stop switch. It comes from the 15a ignition fuse and is energized when you turn the key to the on position. It is energized regardless of the position of the start/stop switch.
Red wire... this wire becomes energized when the start/stop switch is in the start position. It goes to the fuel pump relay, coil wires, and to ECU.
o.k., let's start cutting...:buzzsaw: